carbon fiber nylon bass guitar
3D printed carbon fiber nylon bass guitar


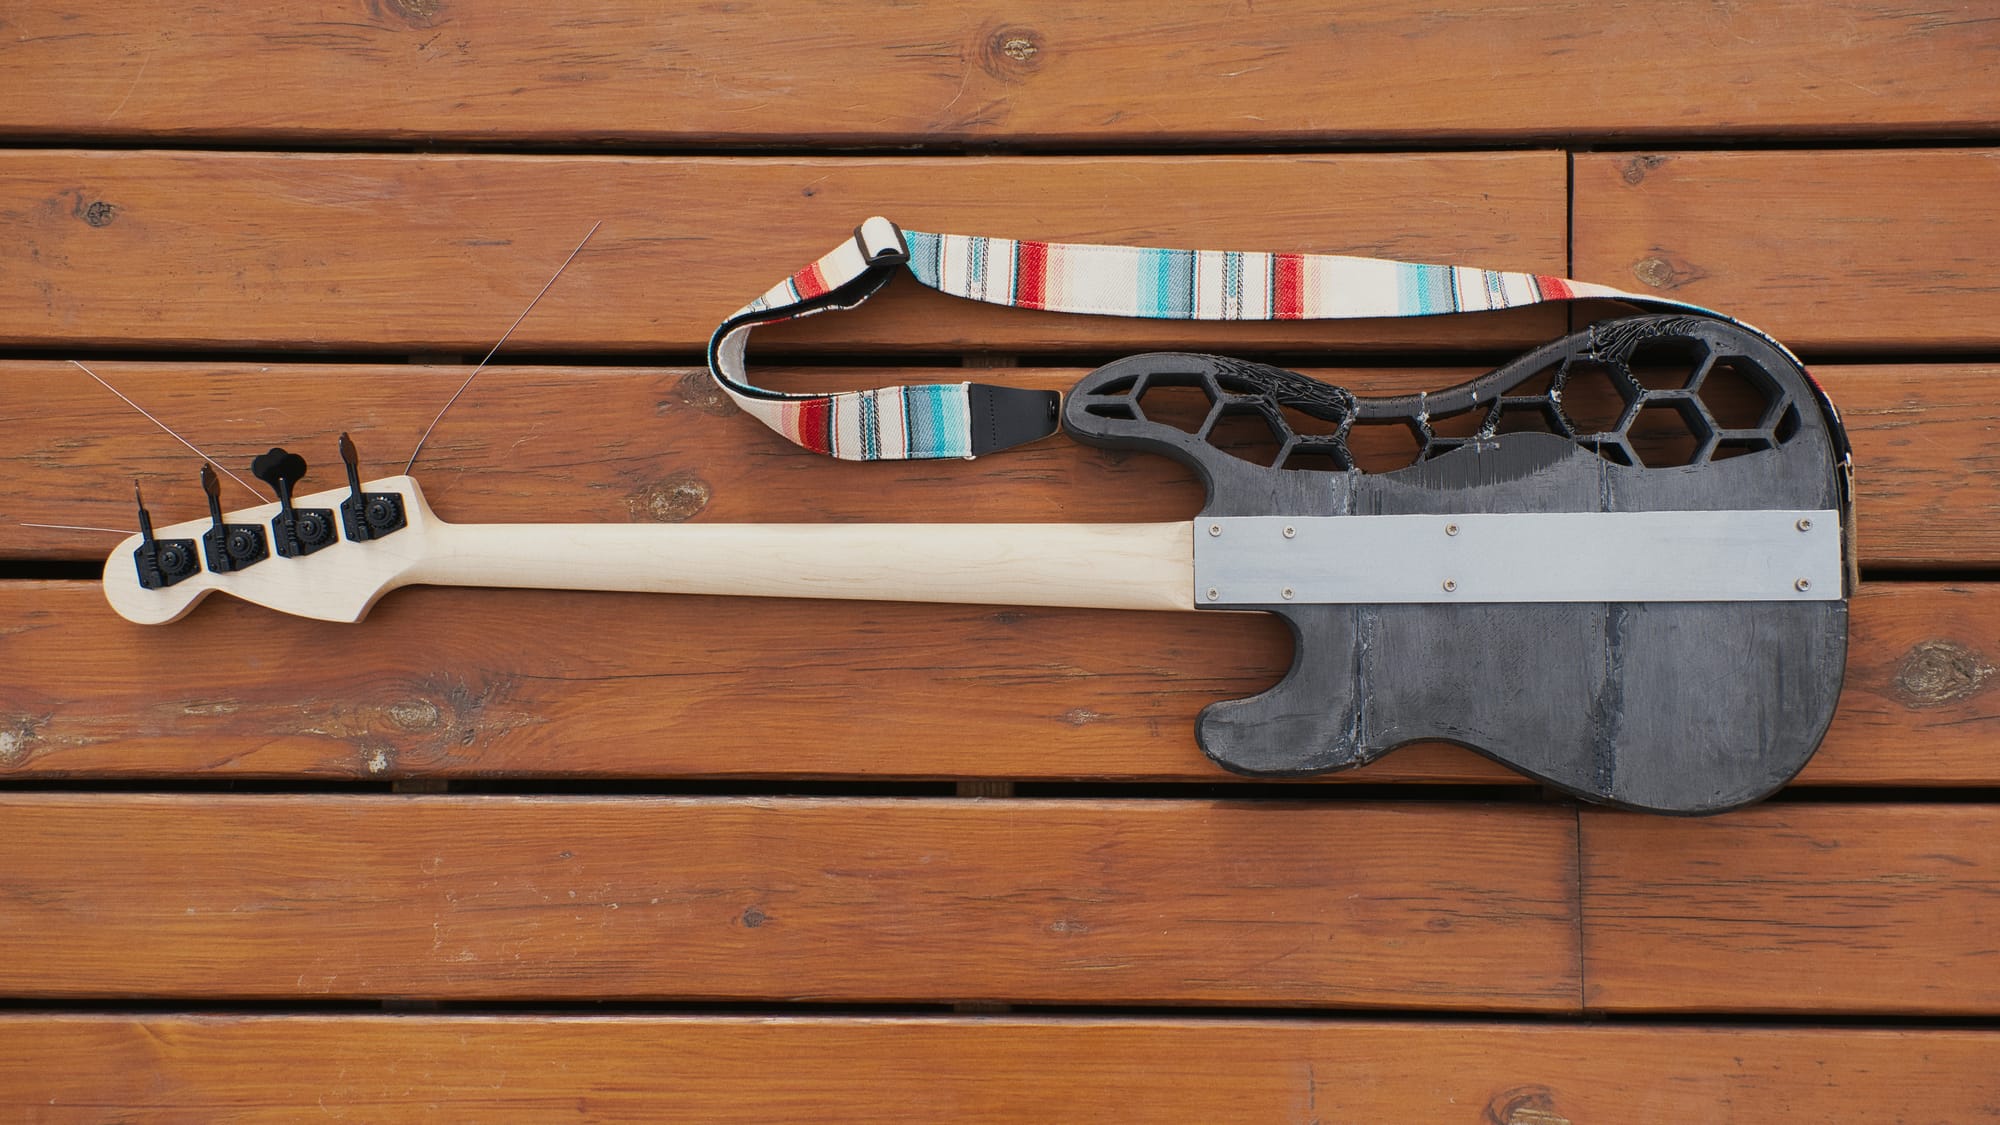
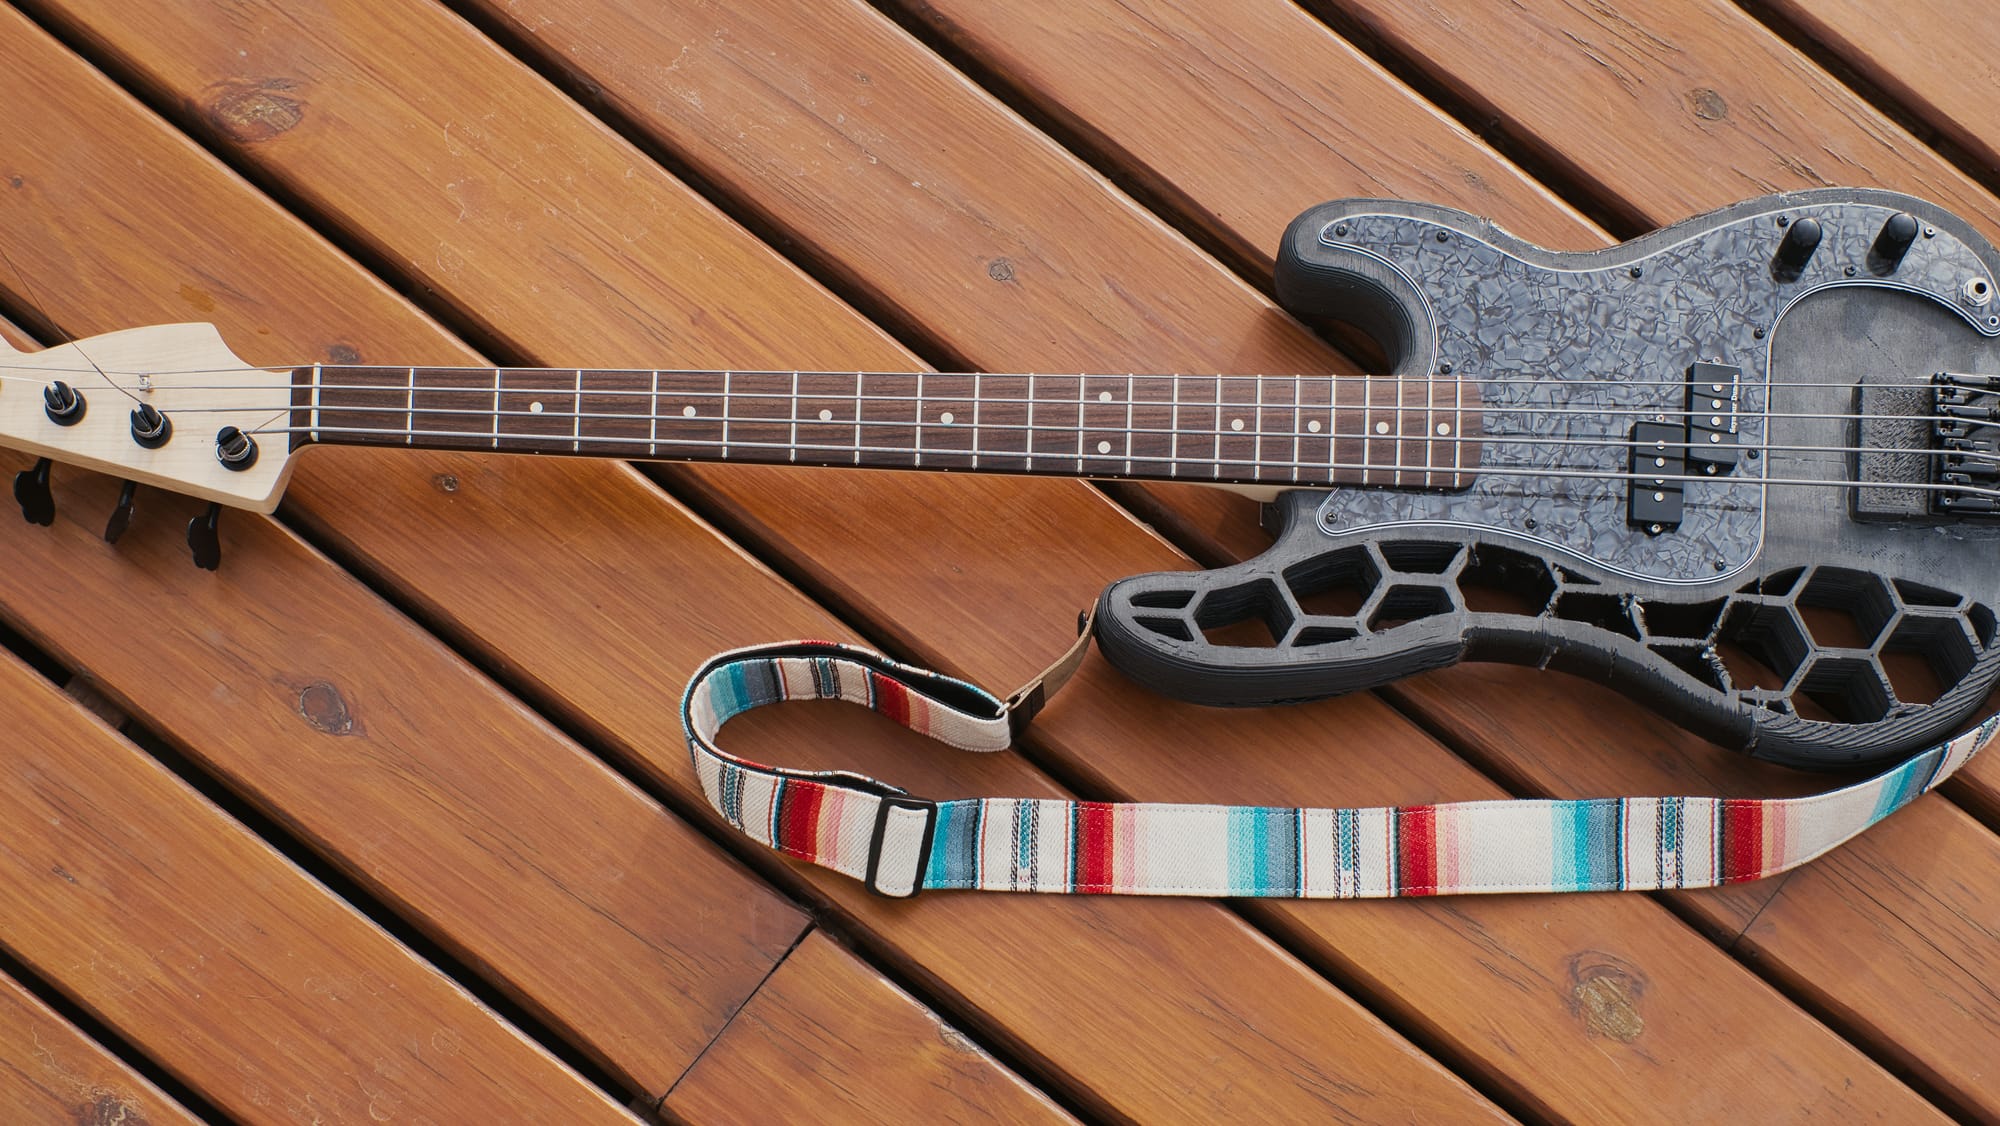
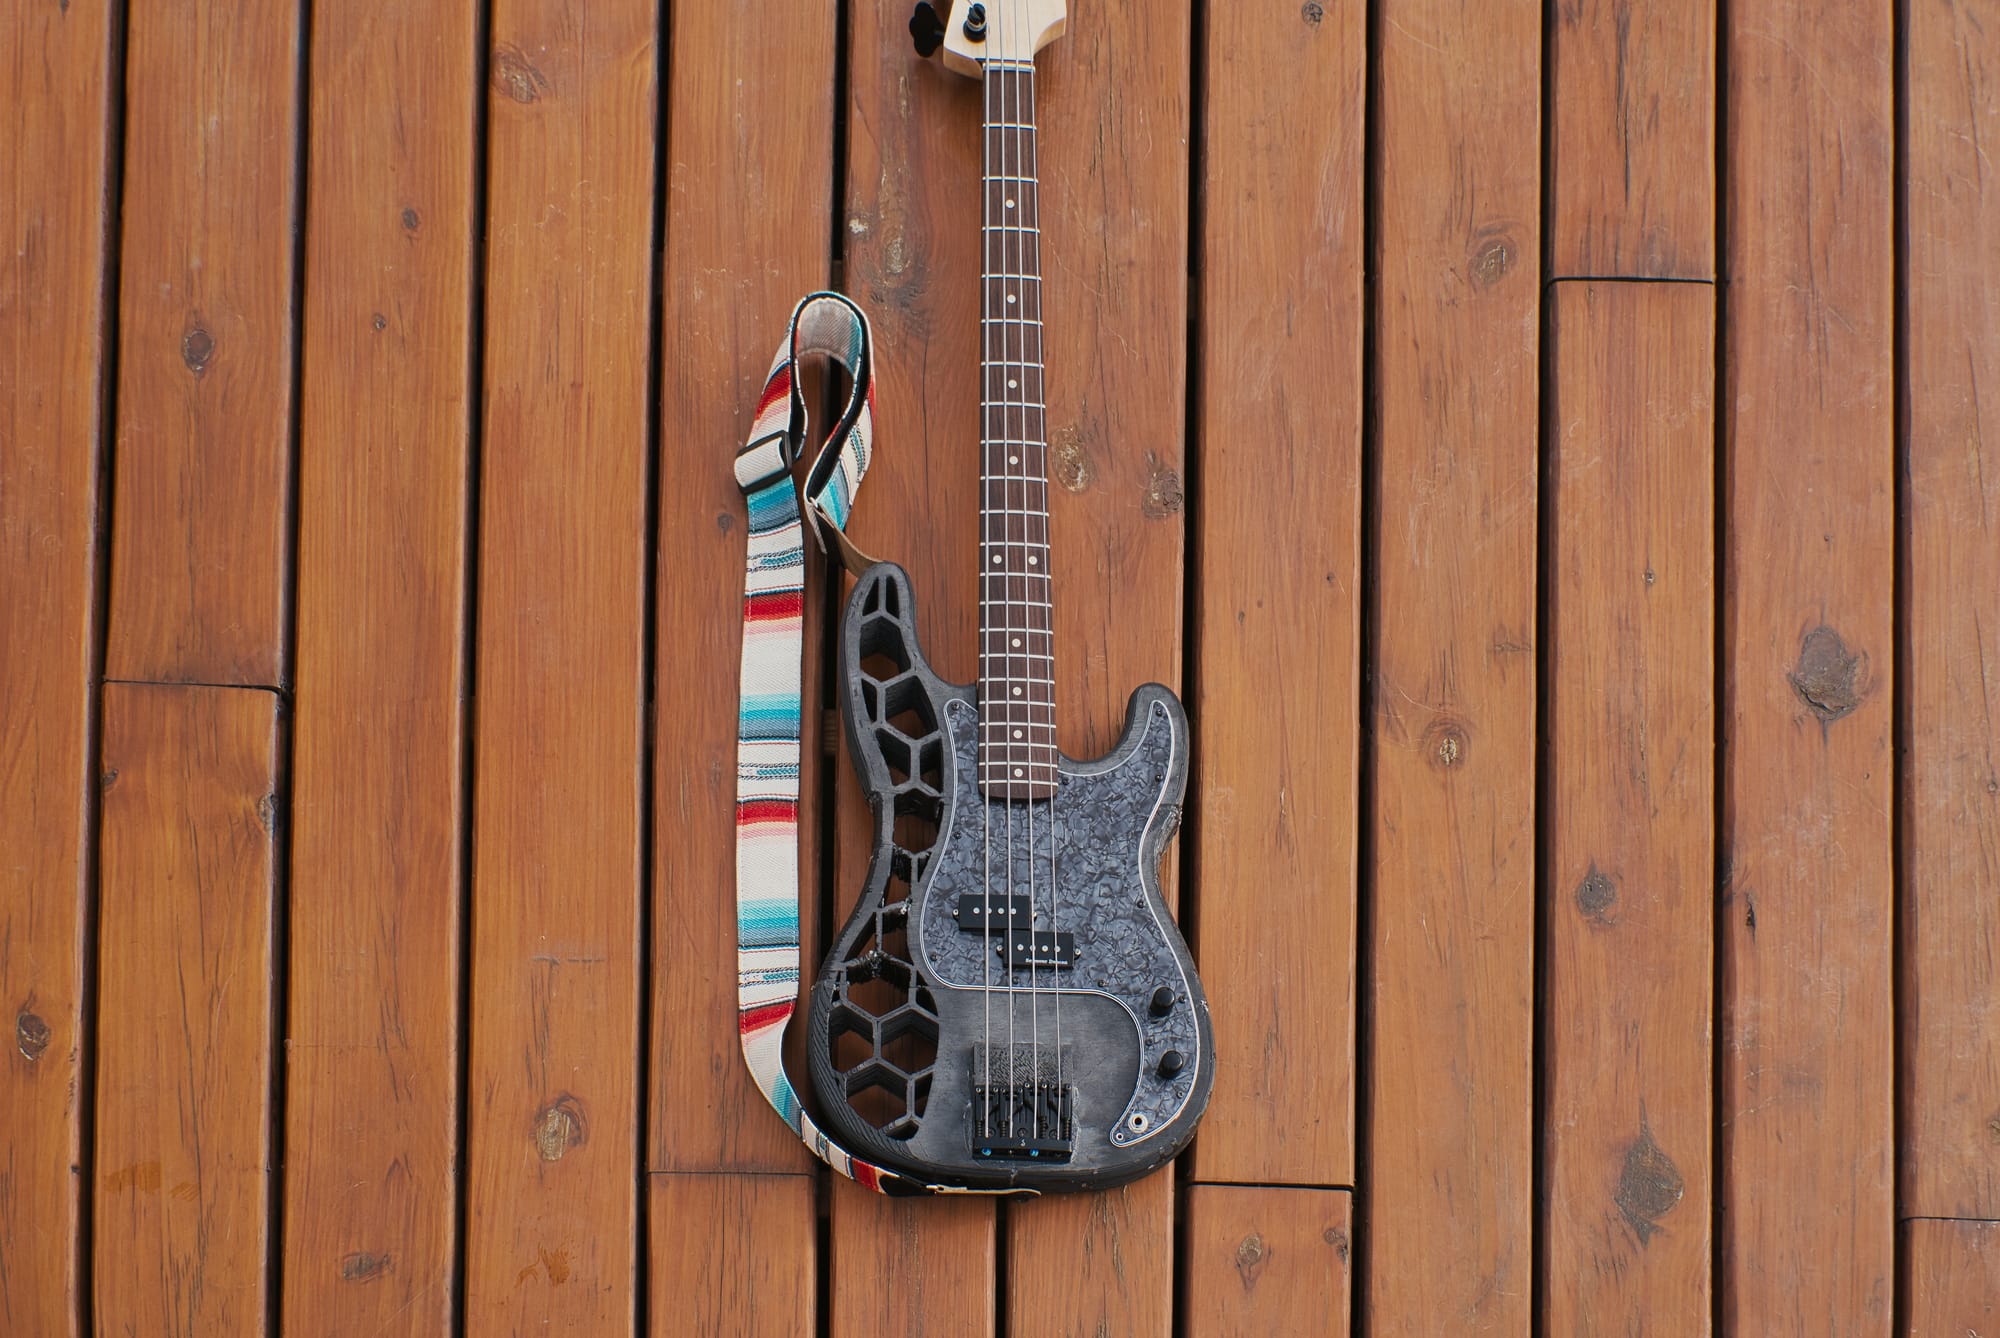

carbon fiber bass guitar overview

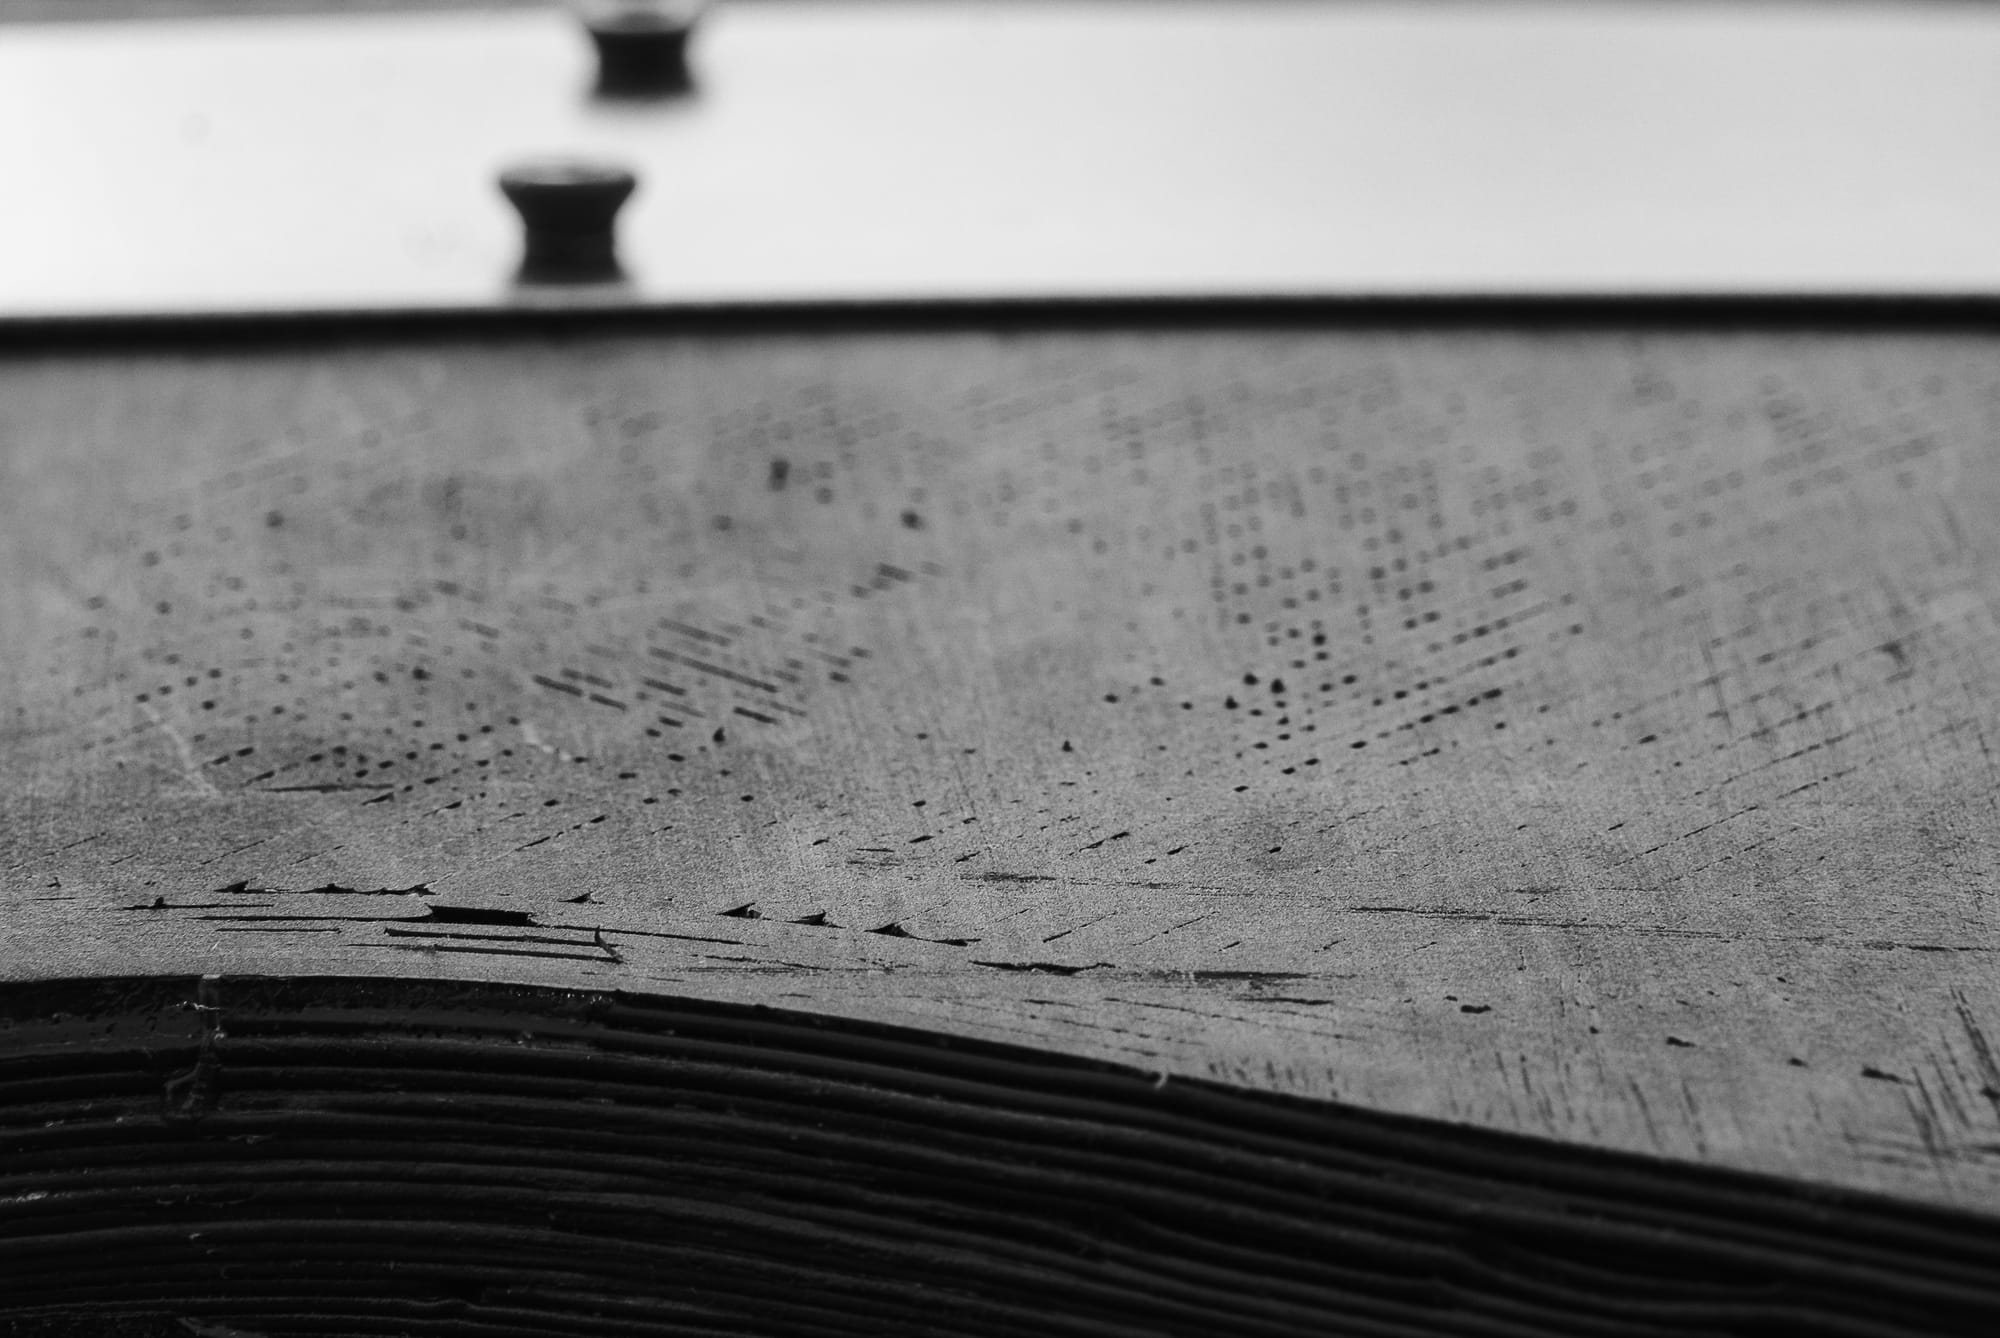
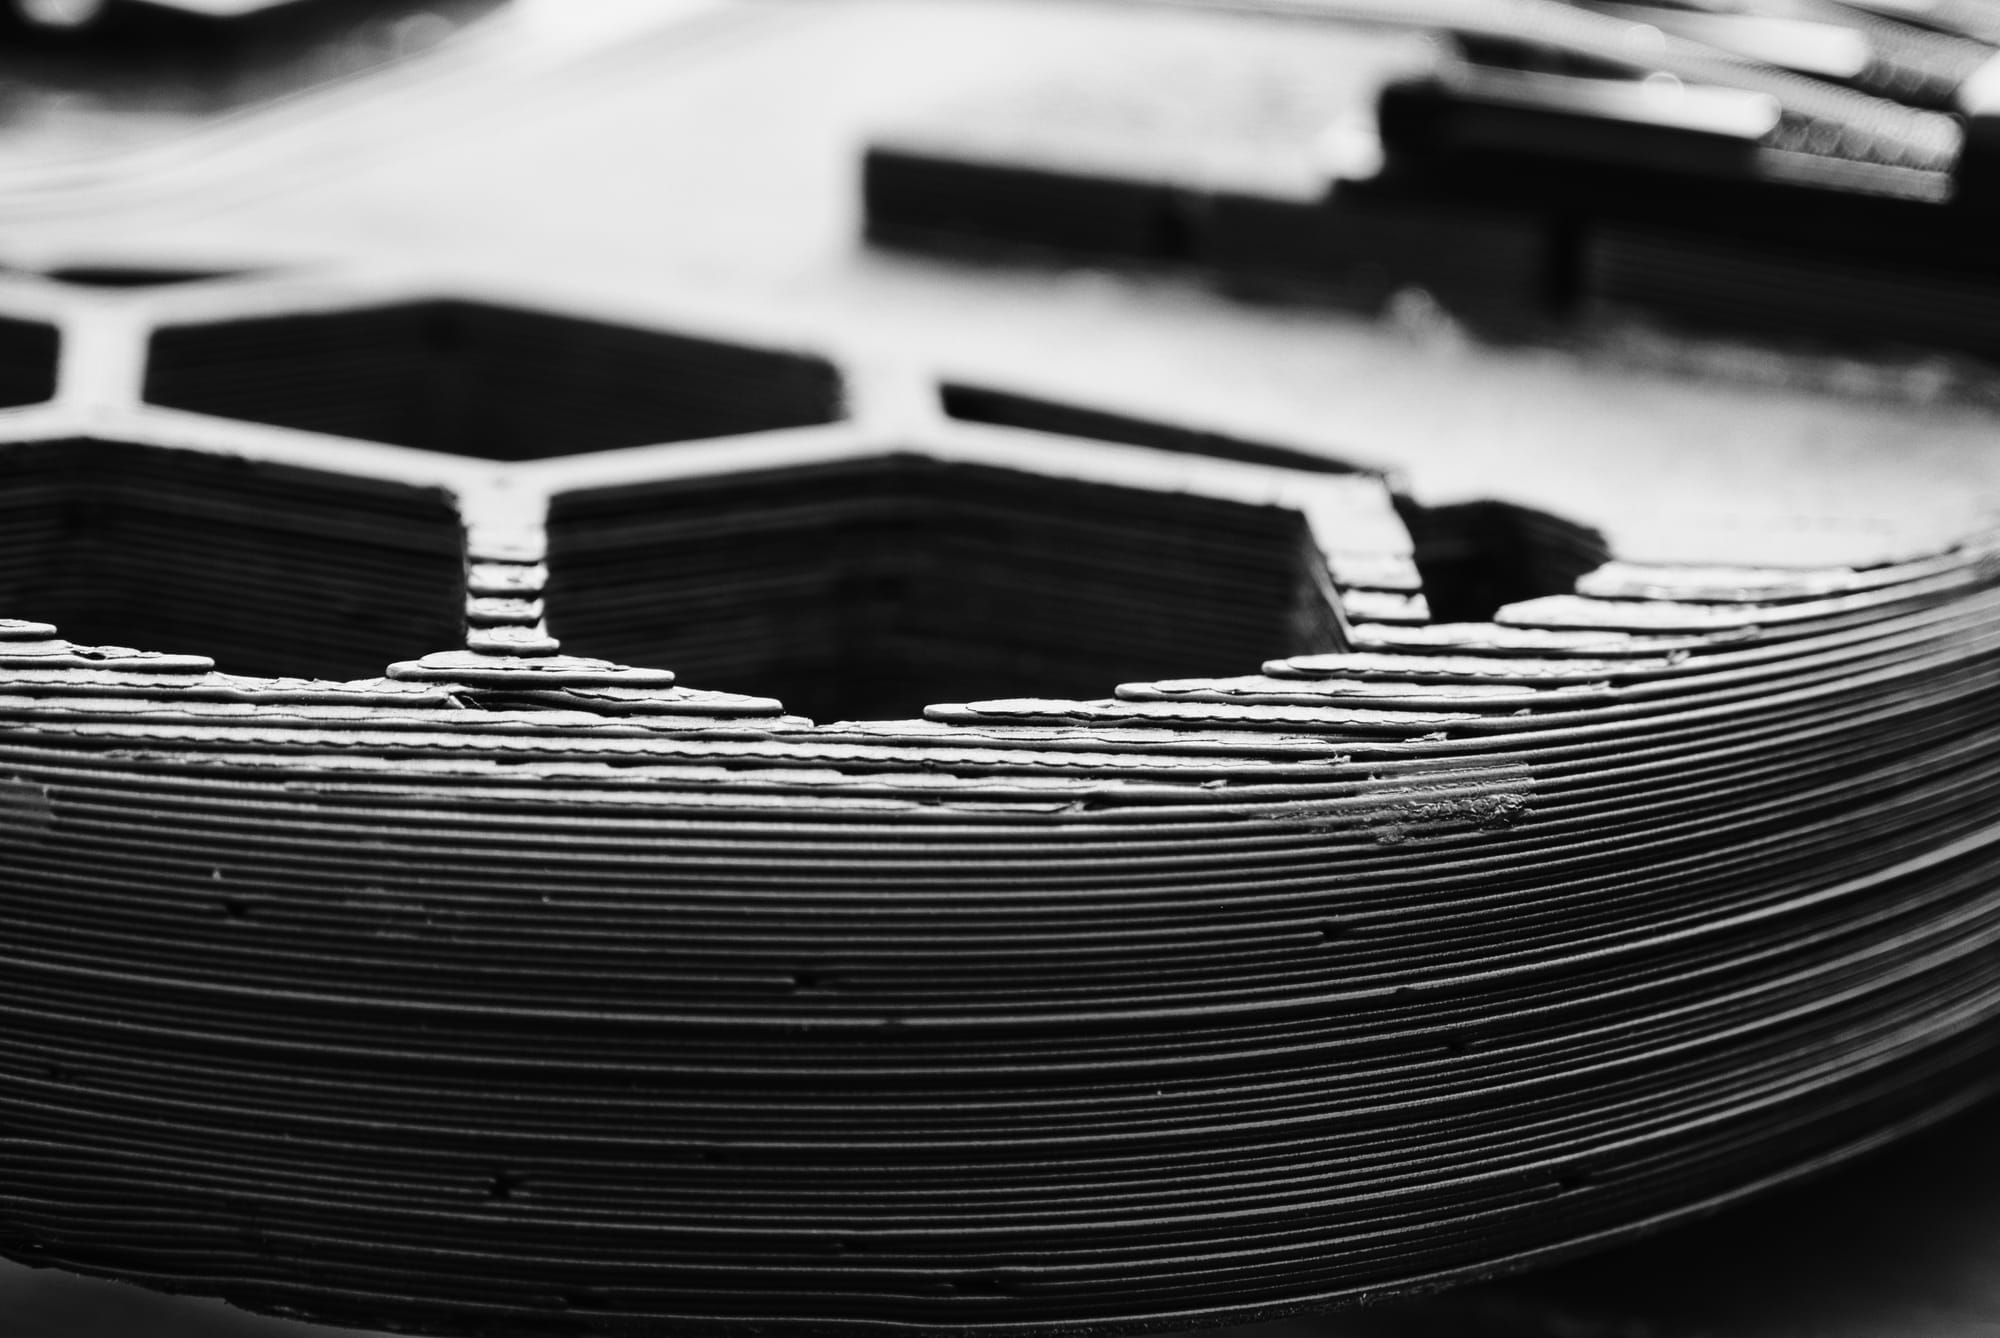


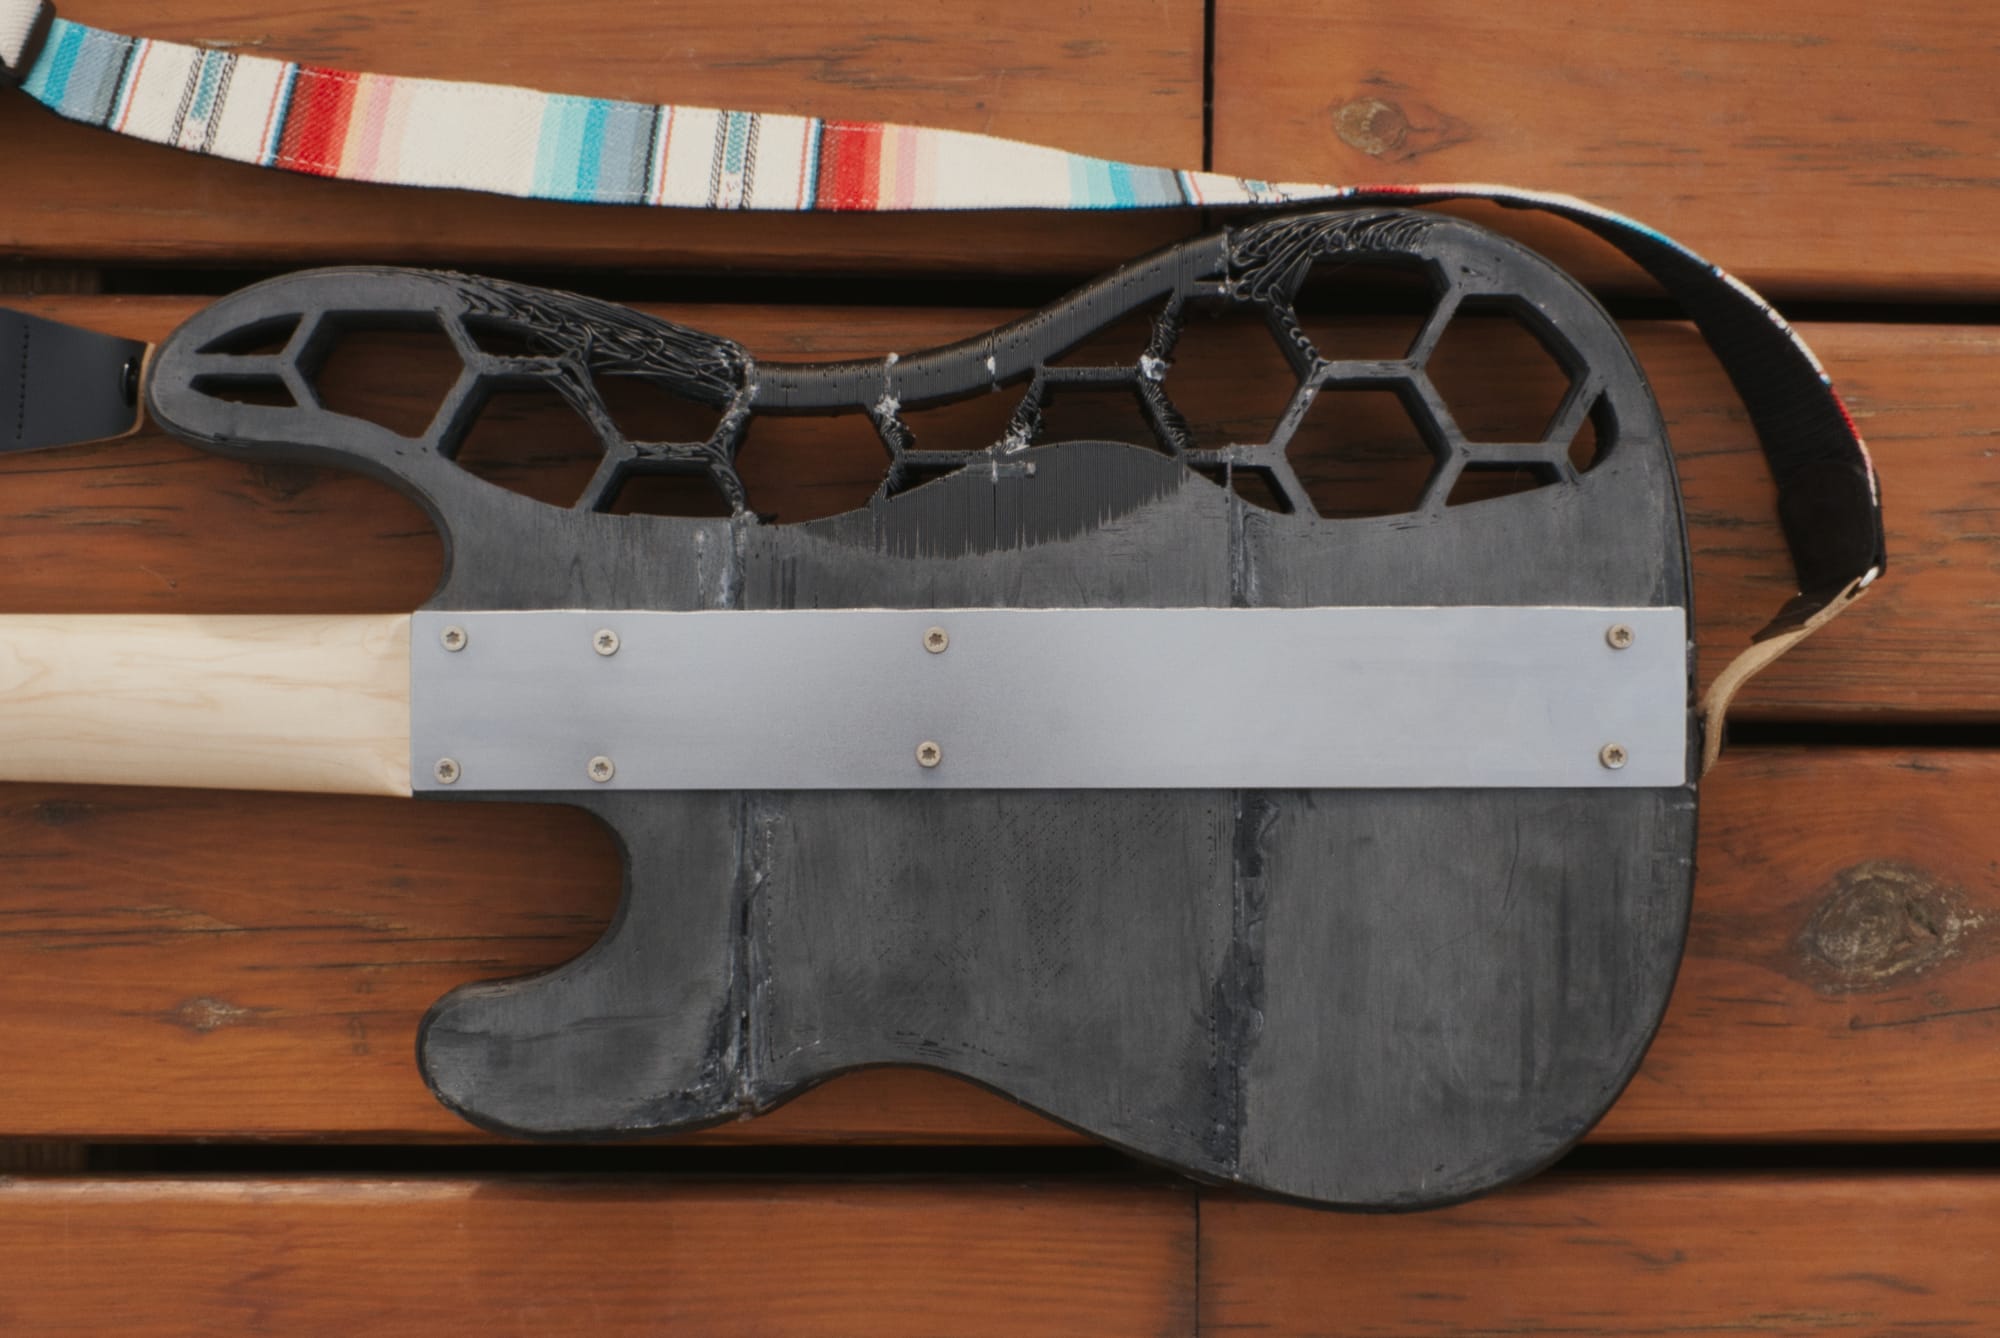
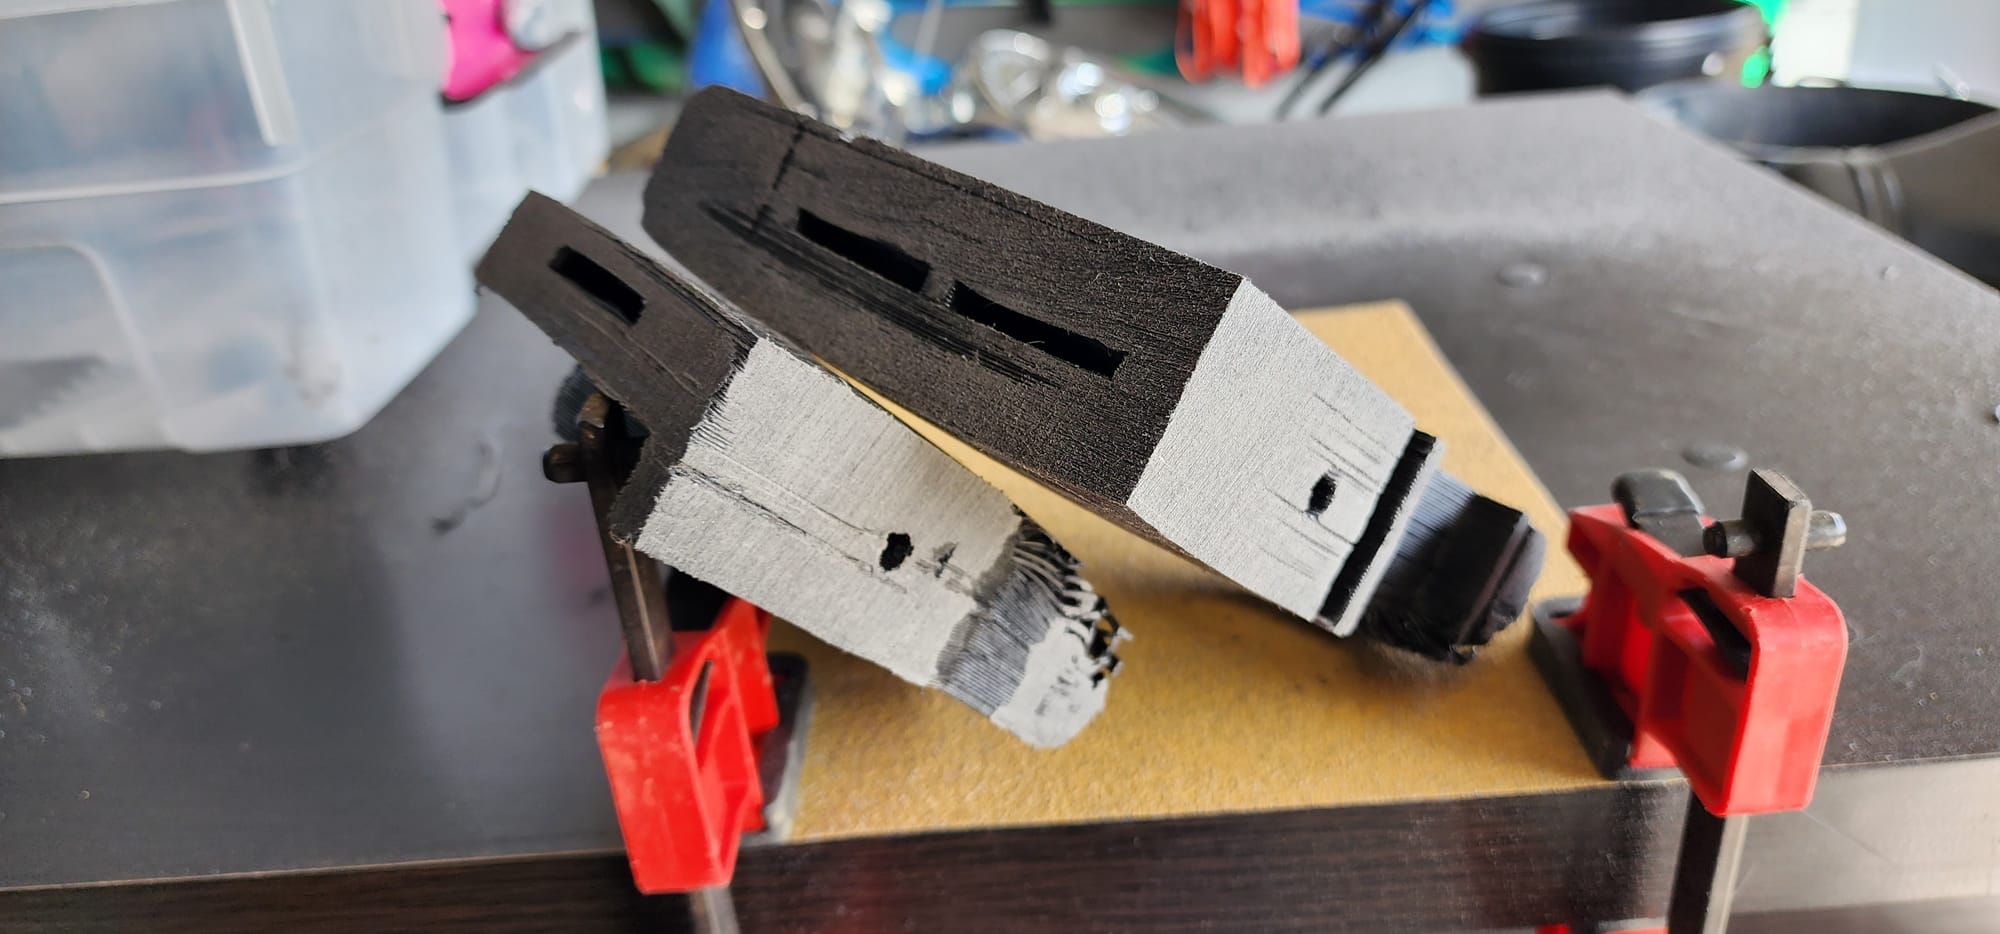
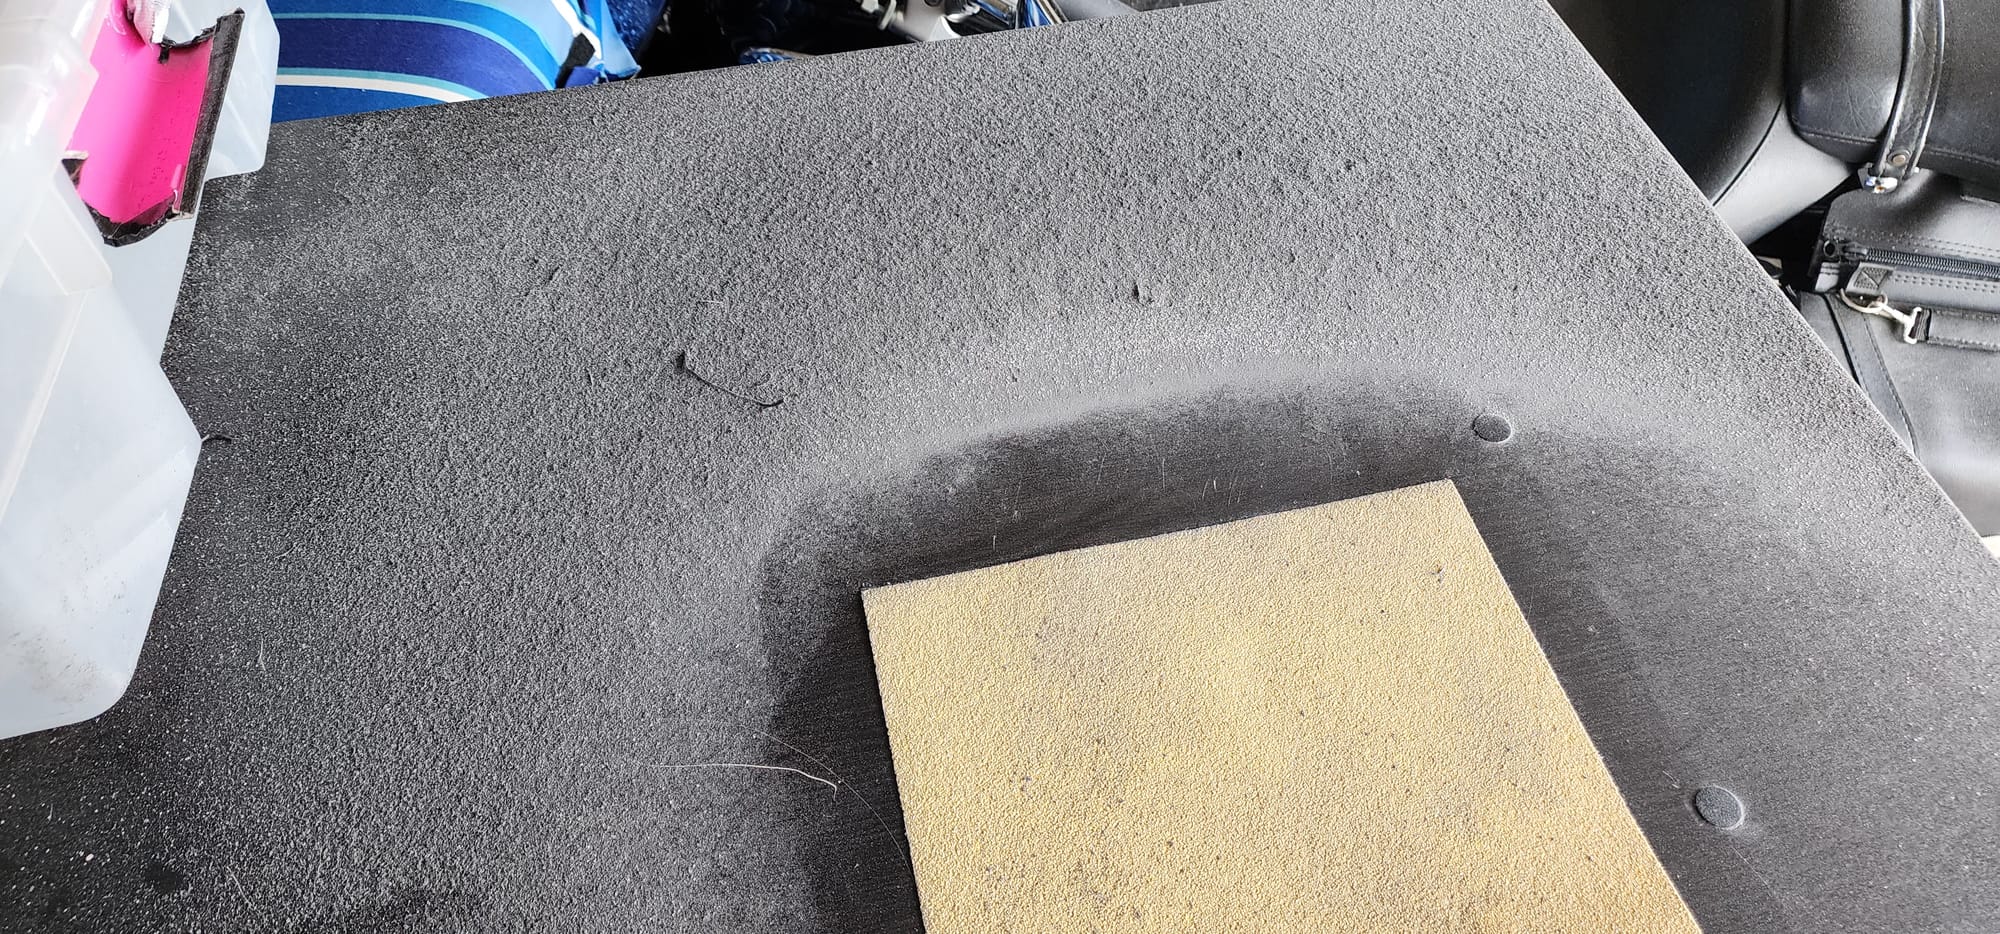
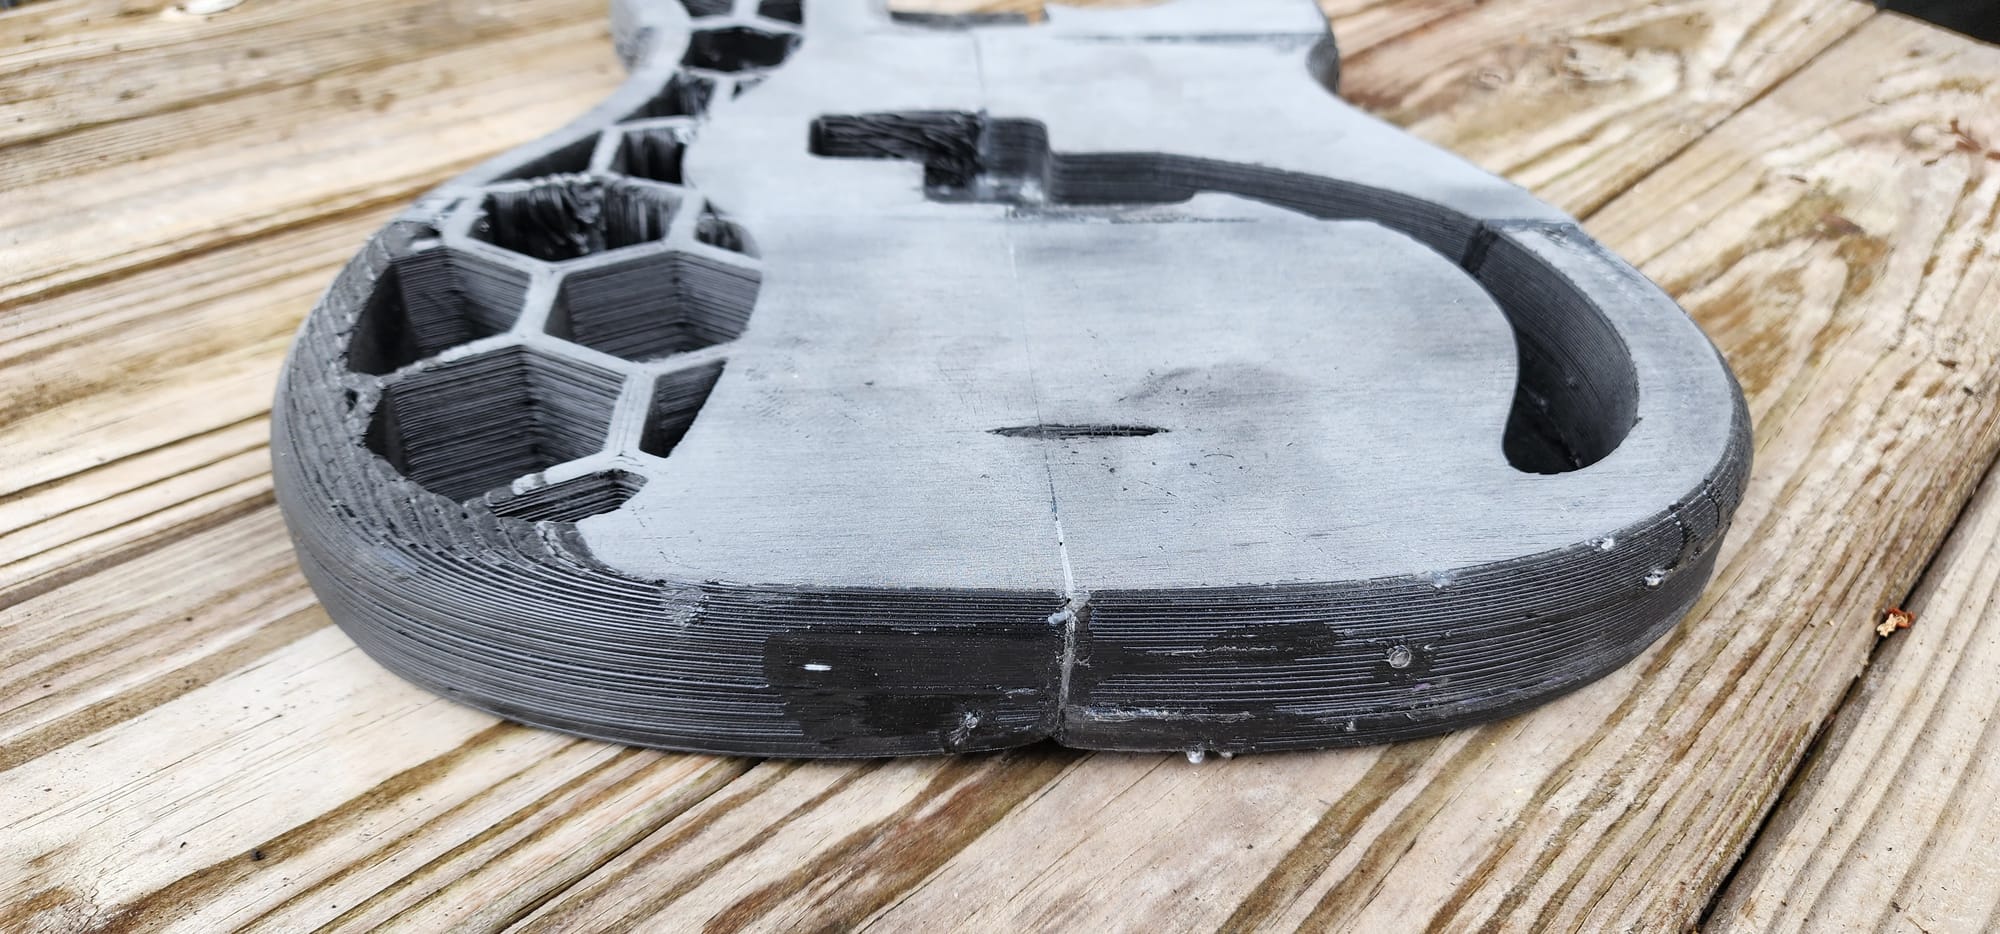
carbon fiber bass guitar material closeups
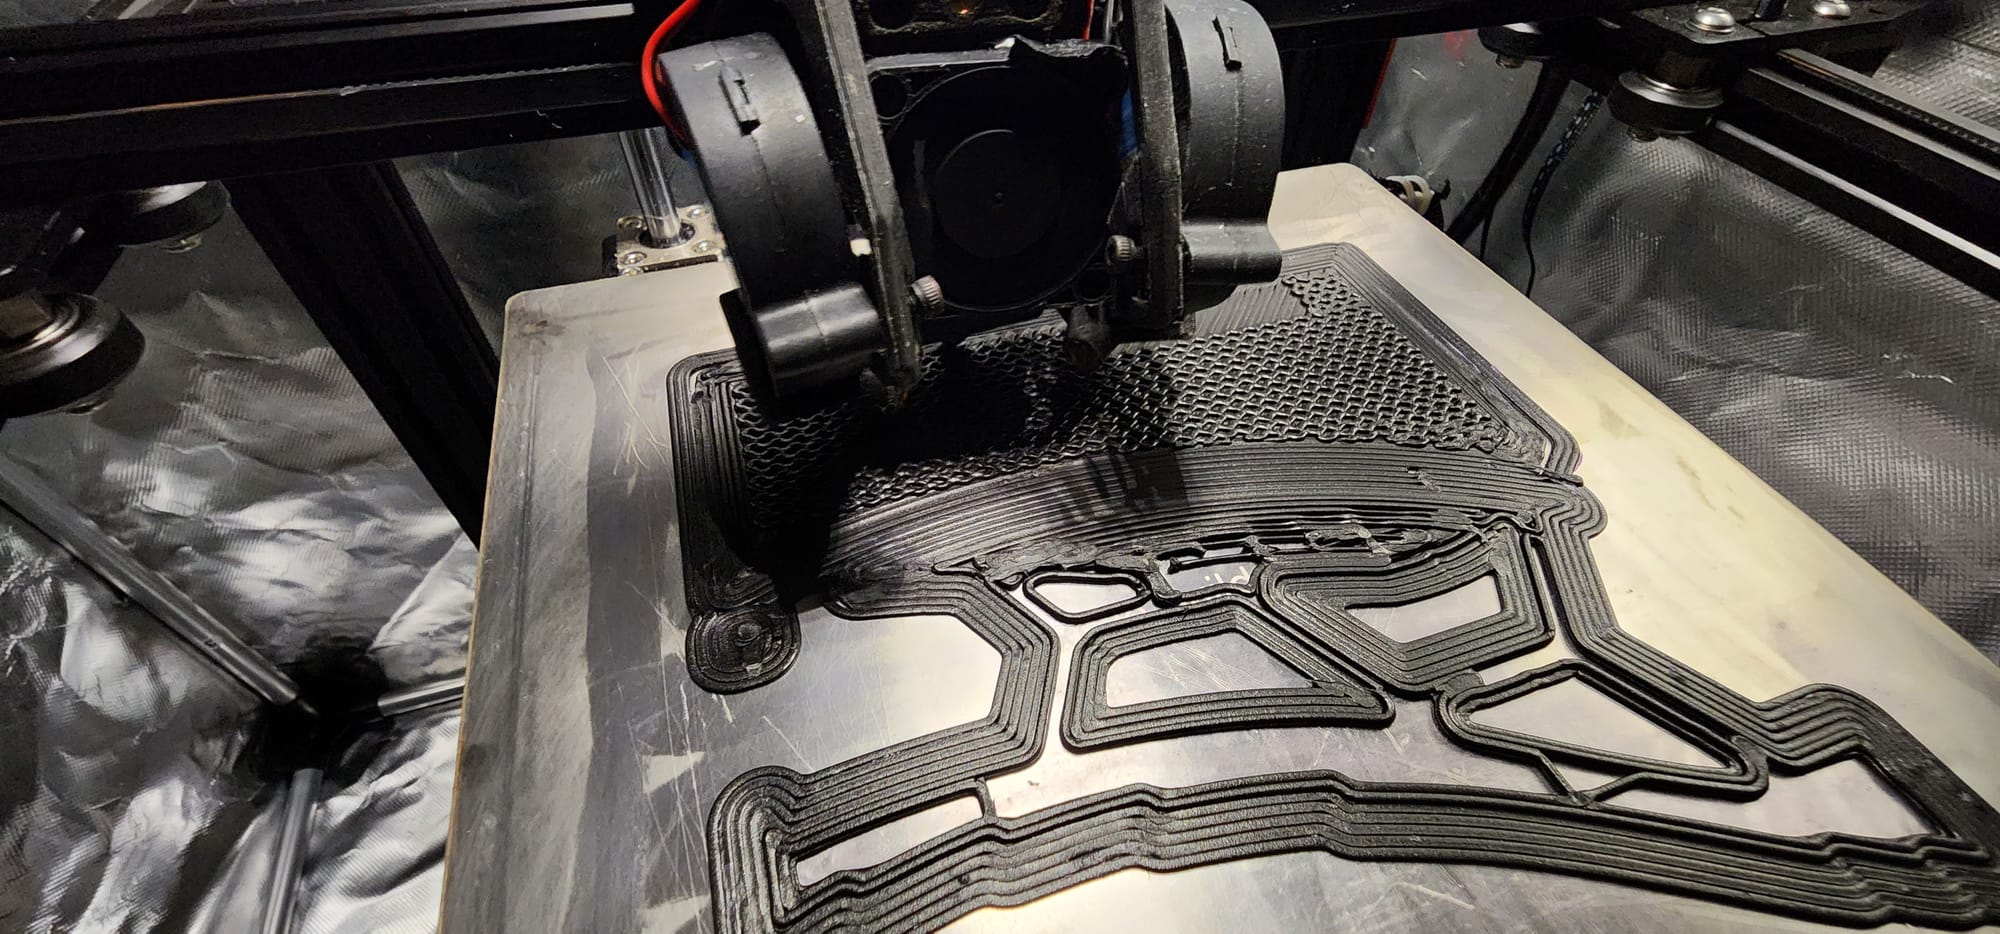
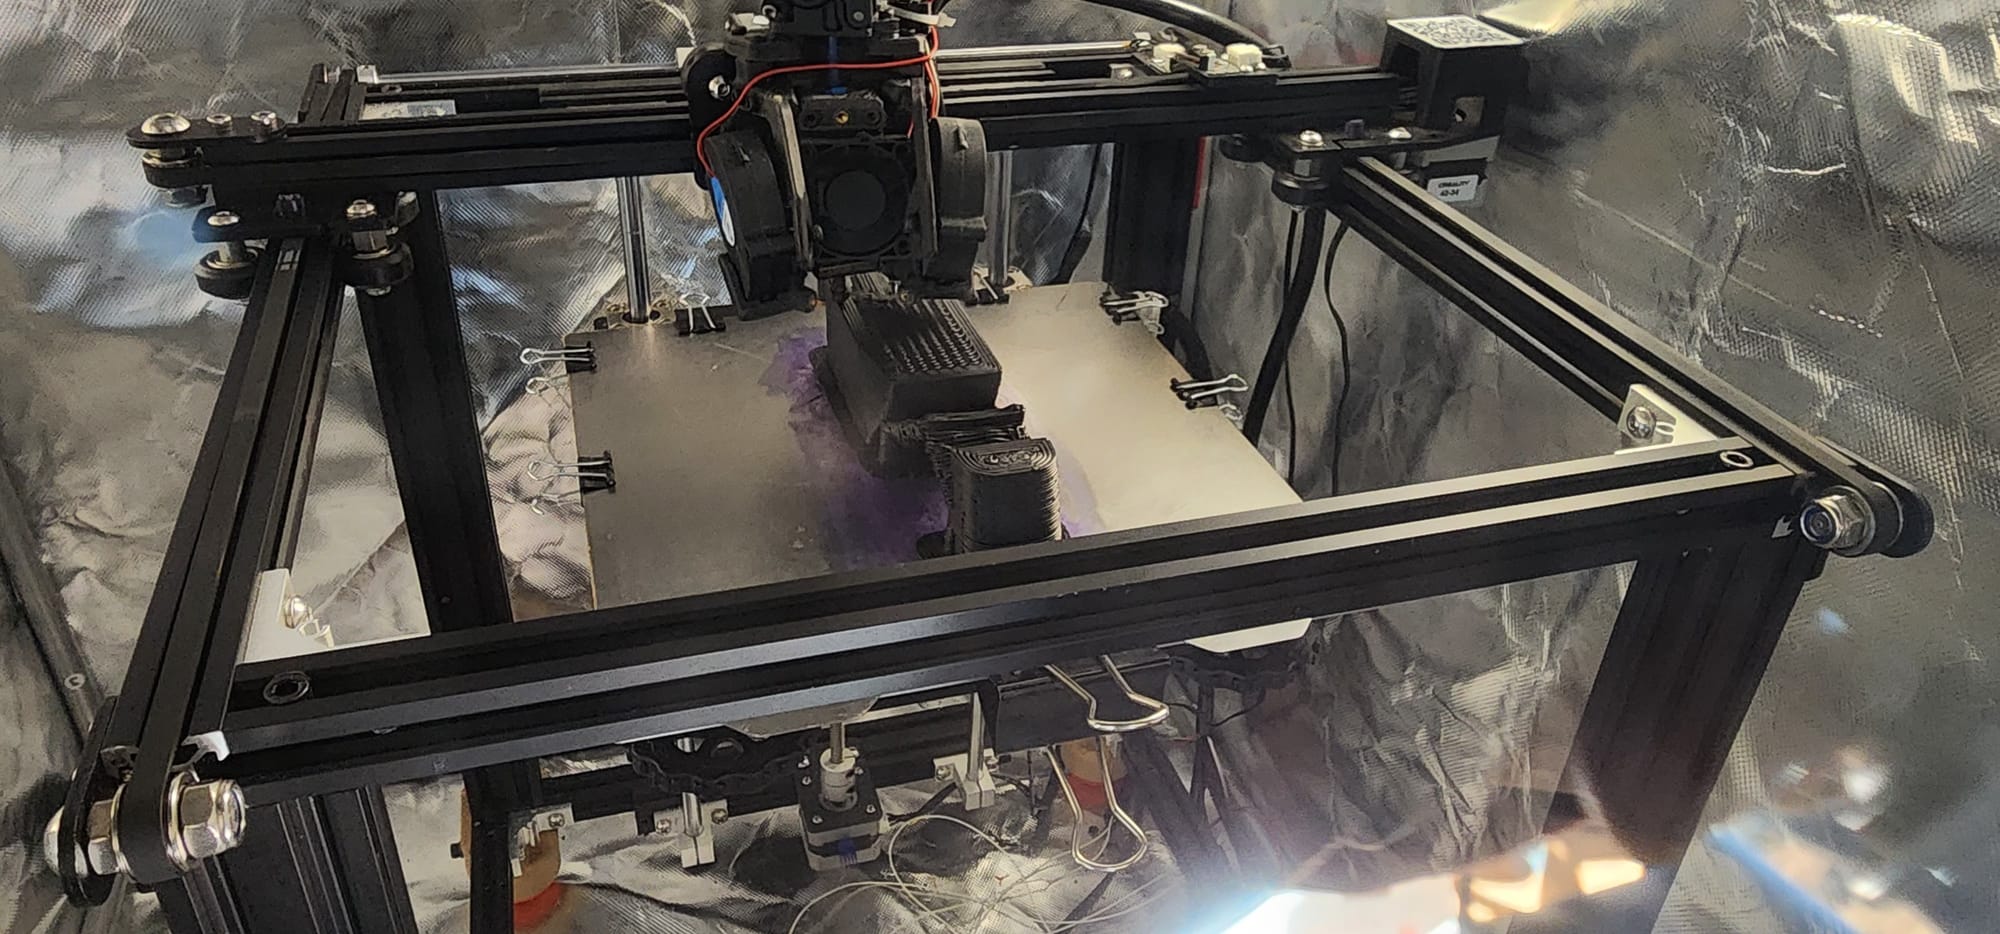
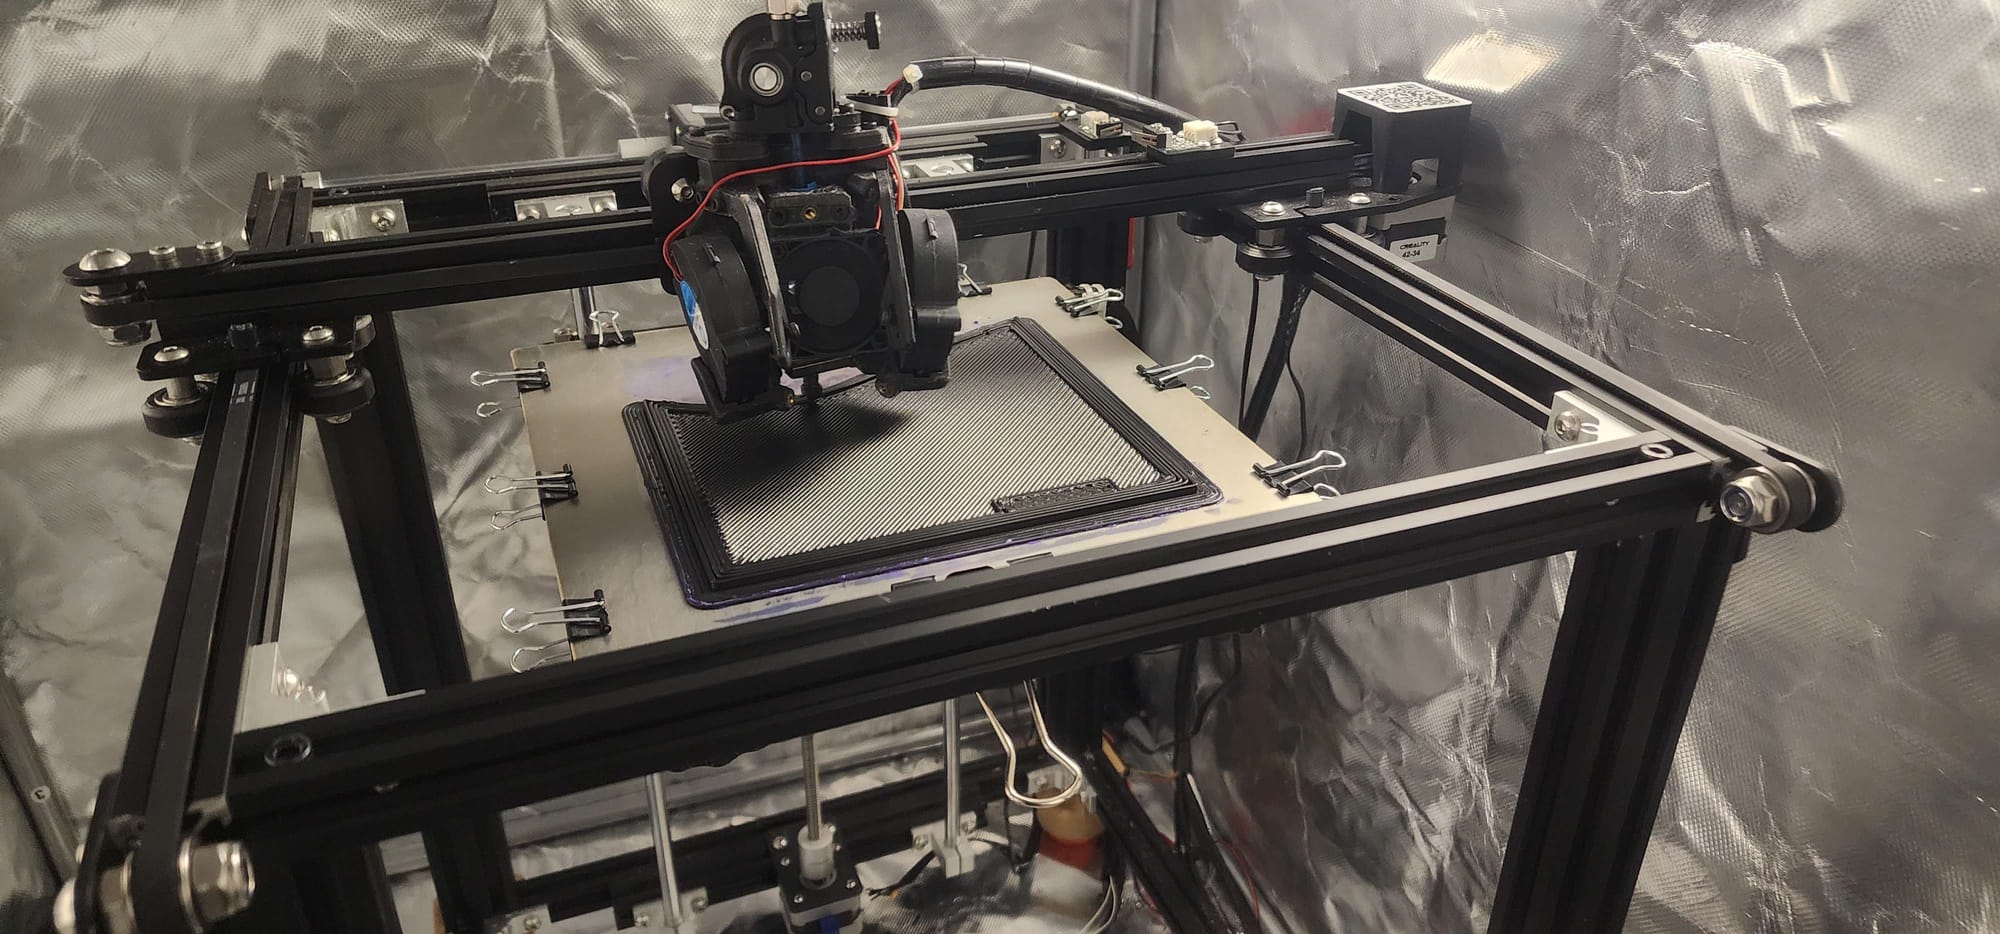
3D printer printing away

printing and processing the parts
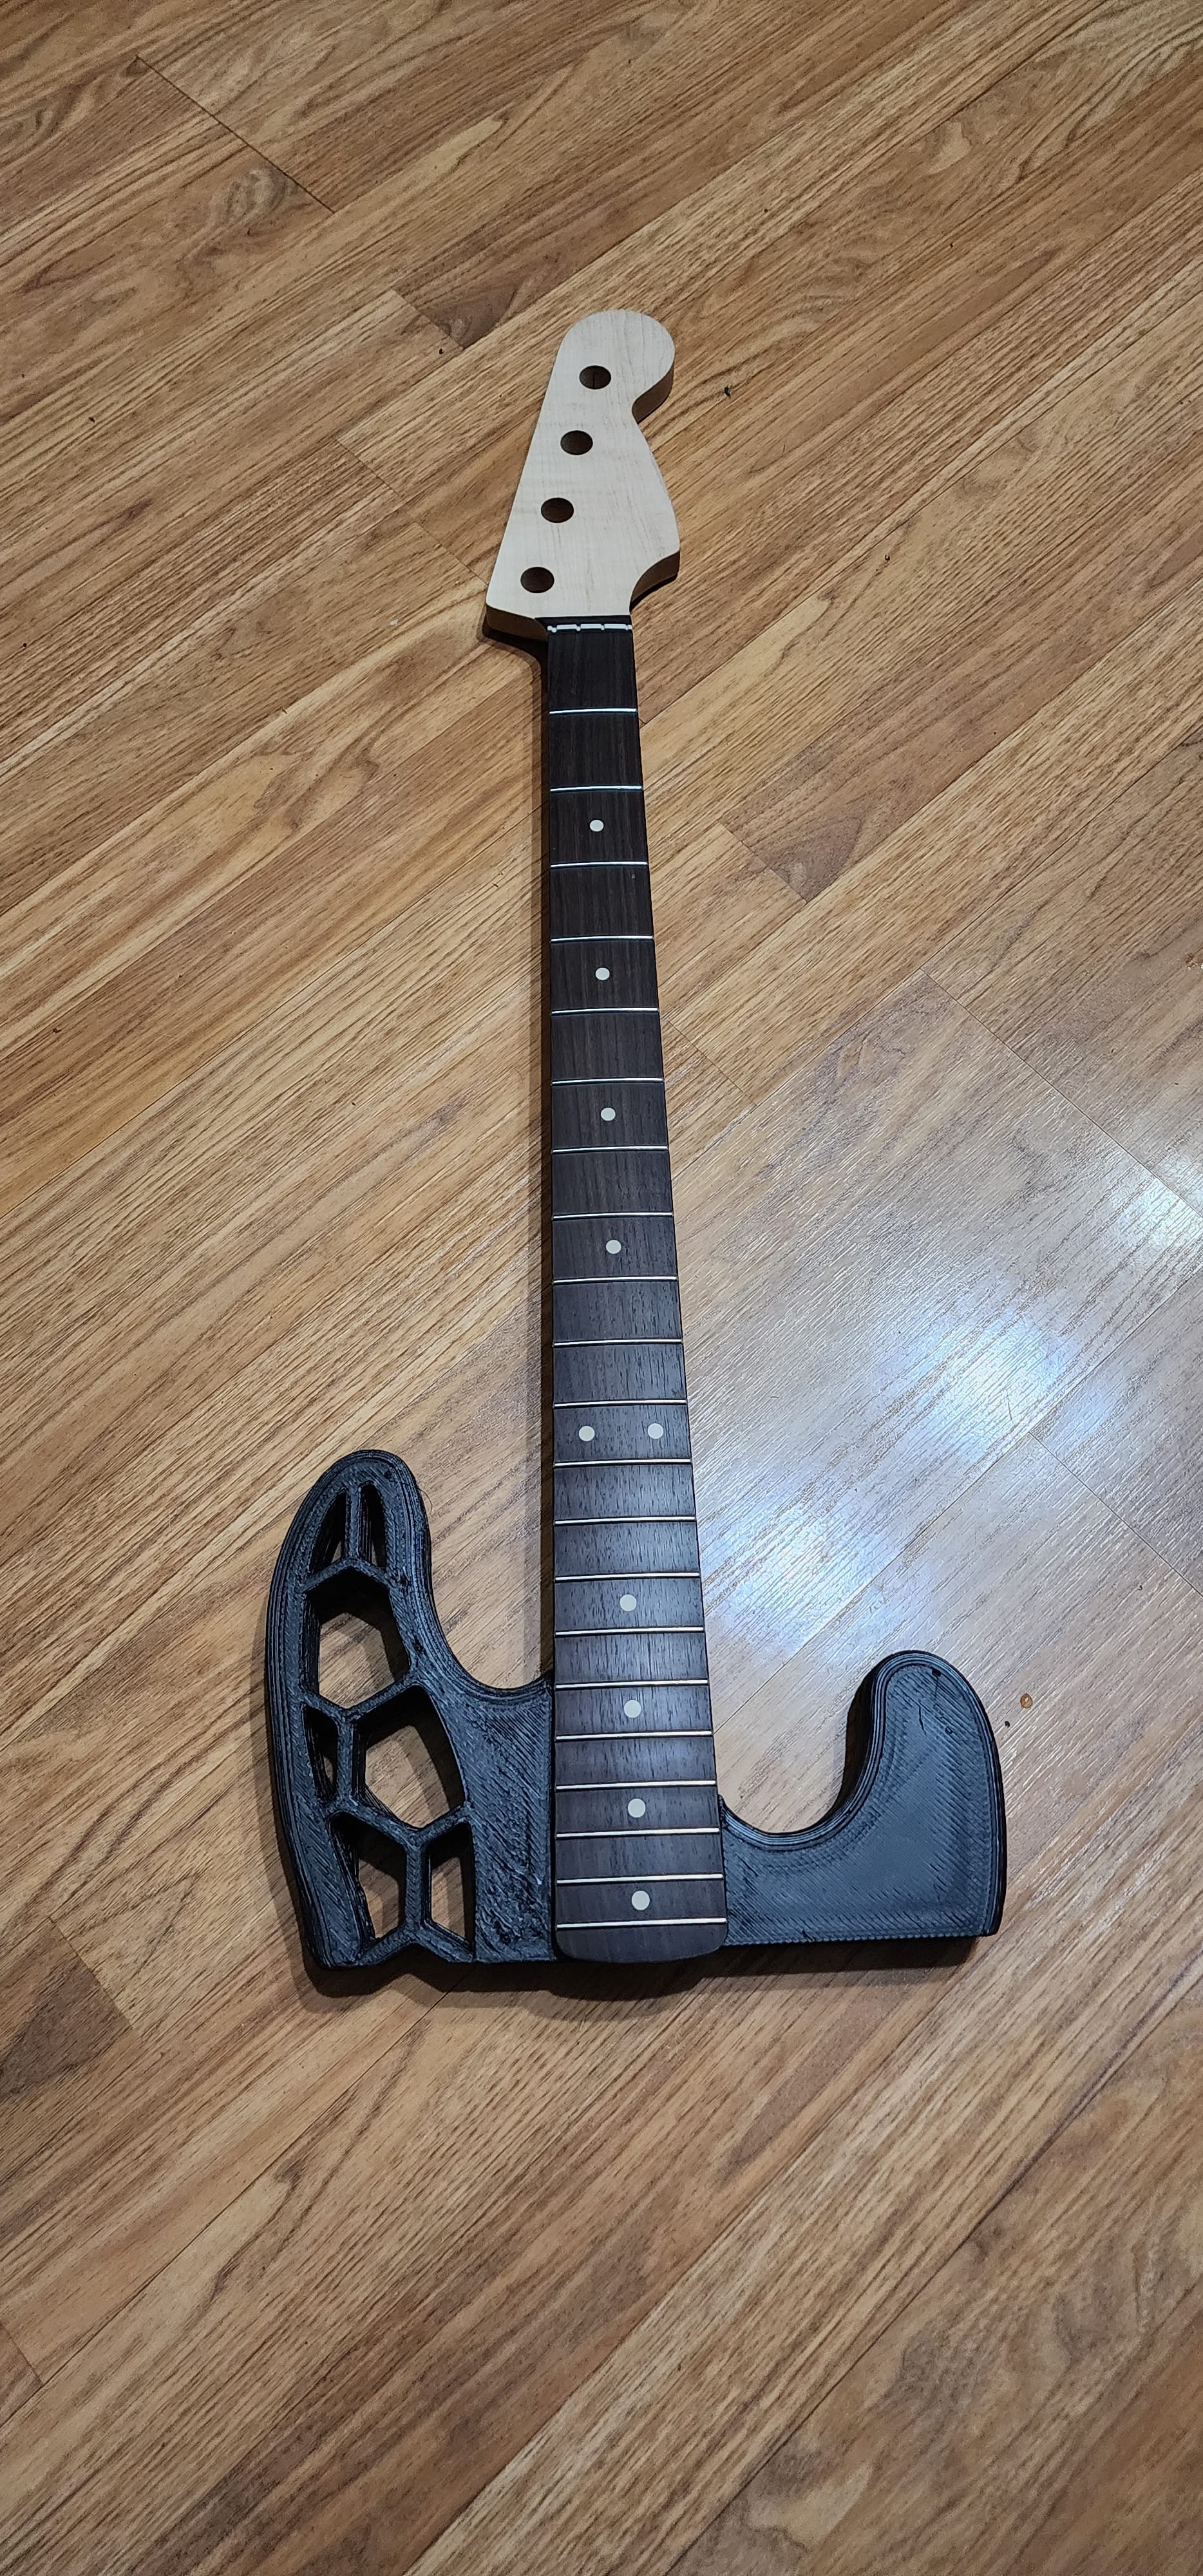
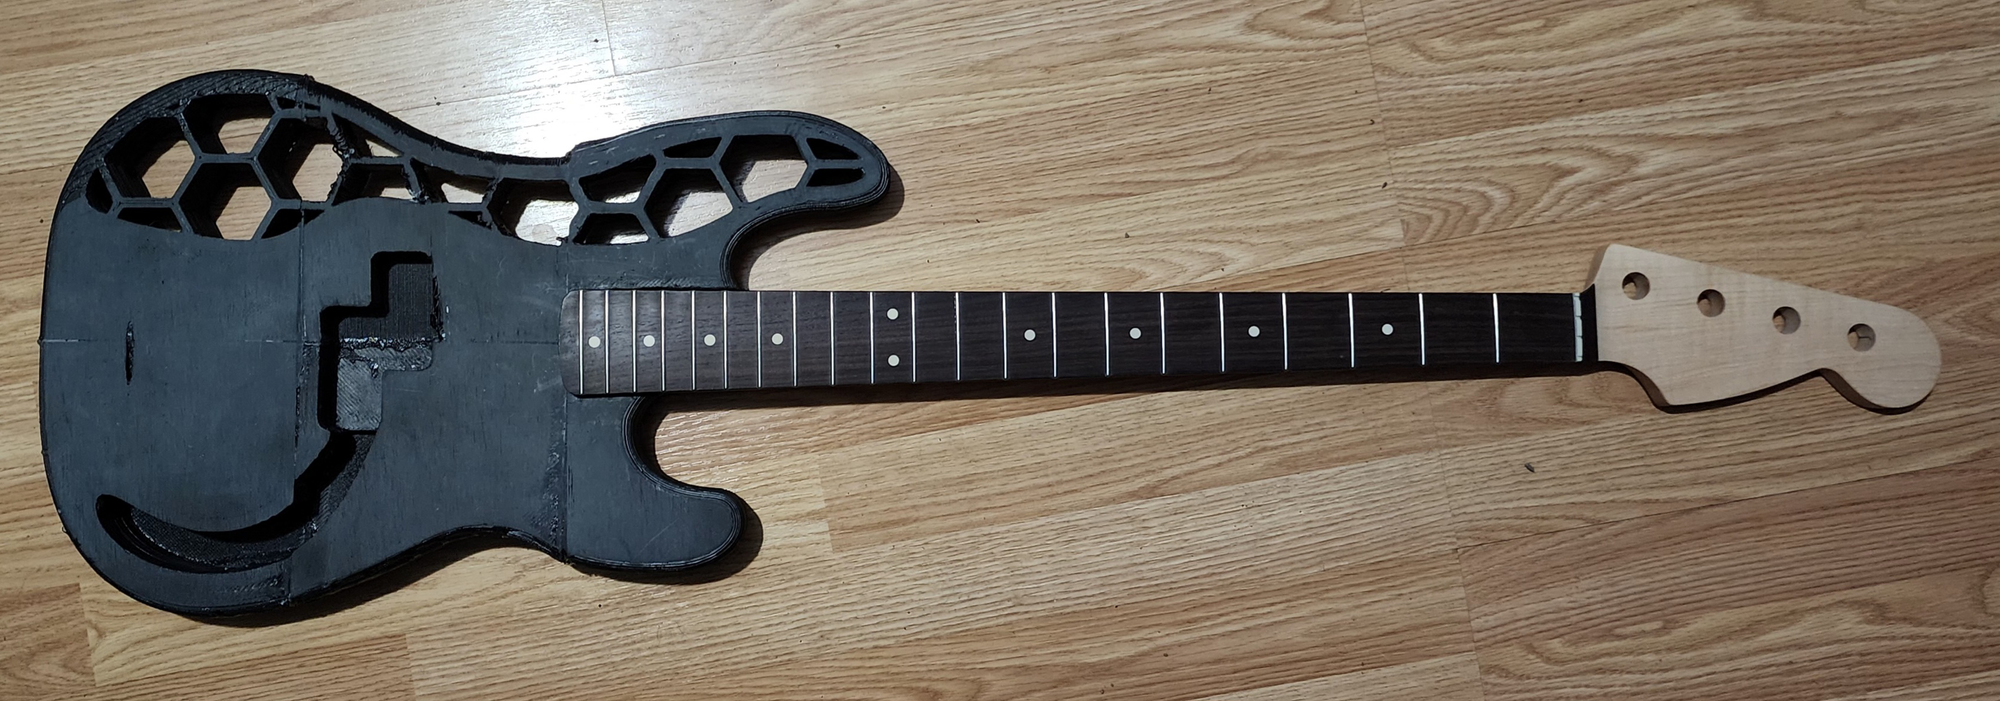


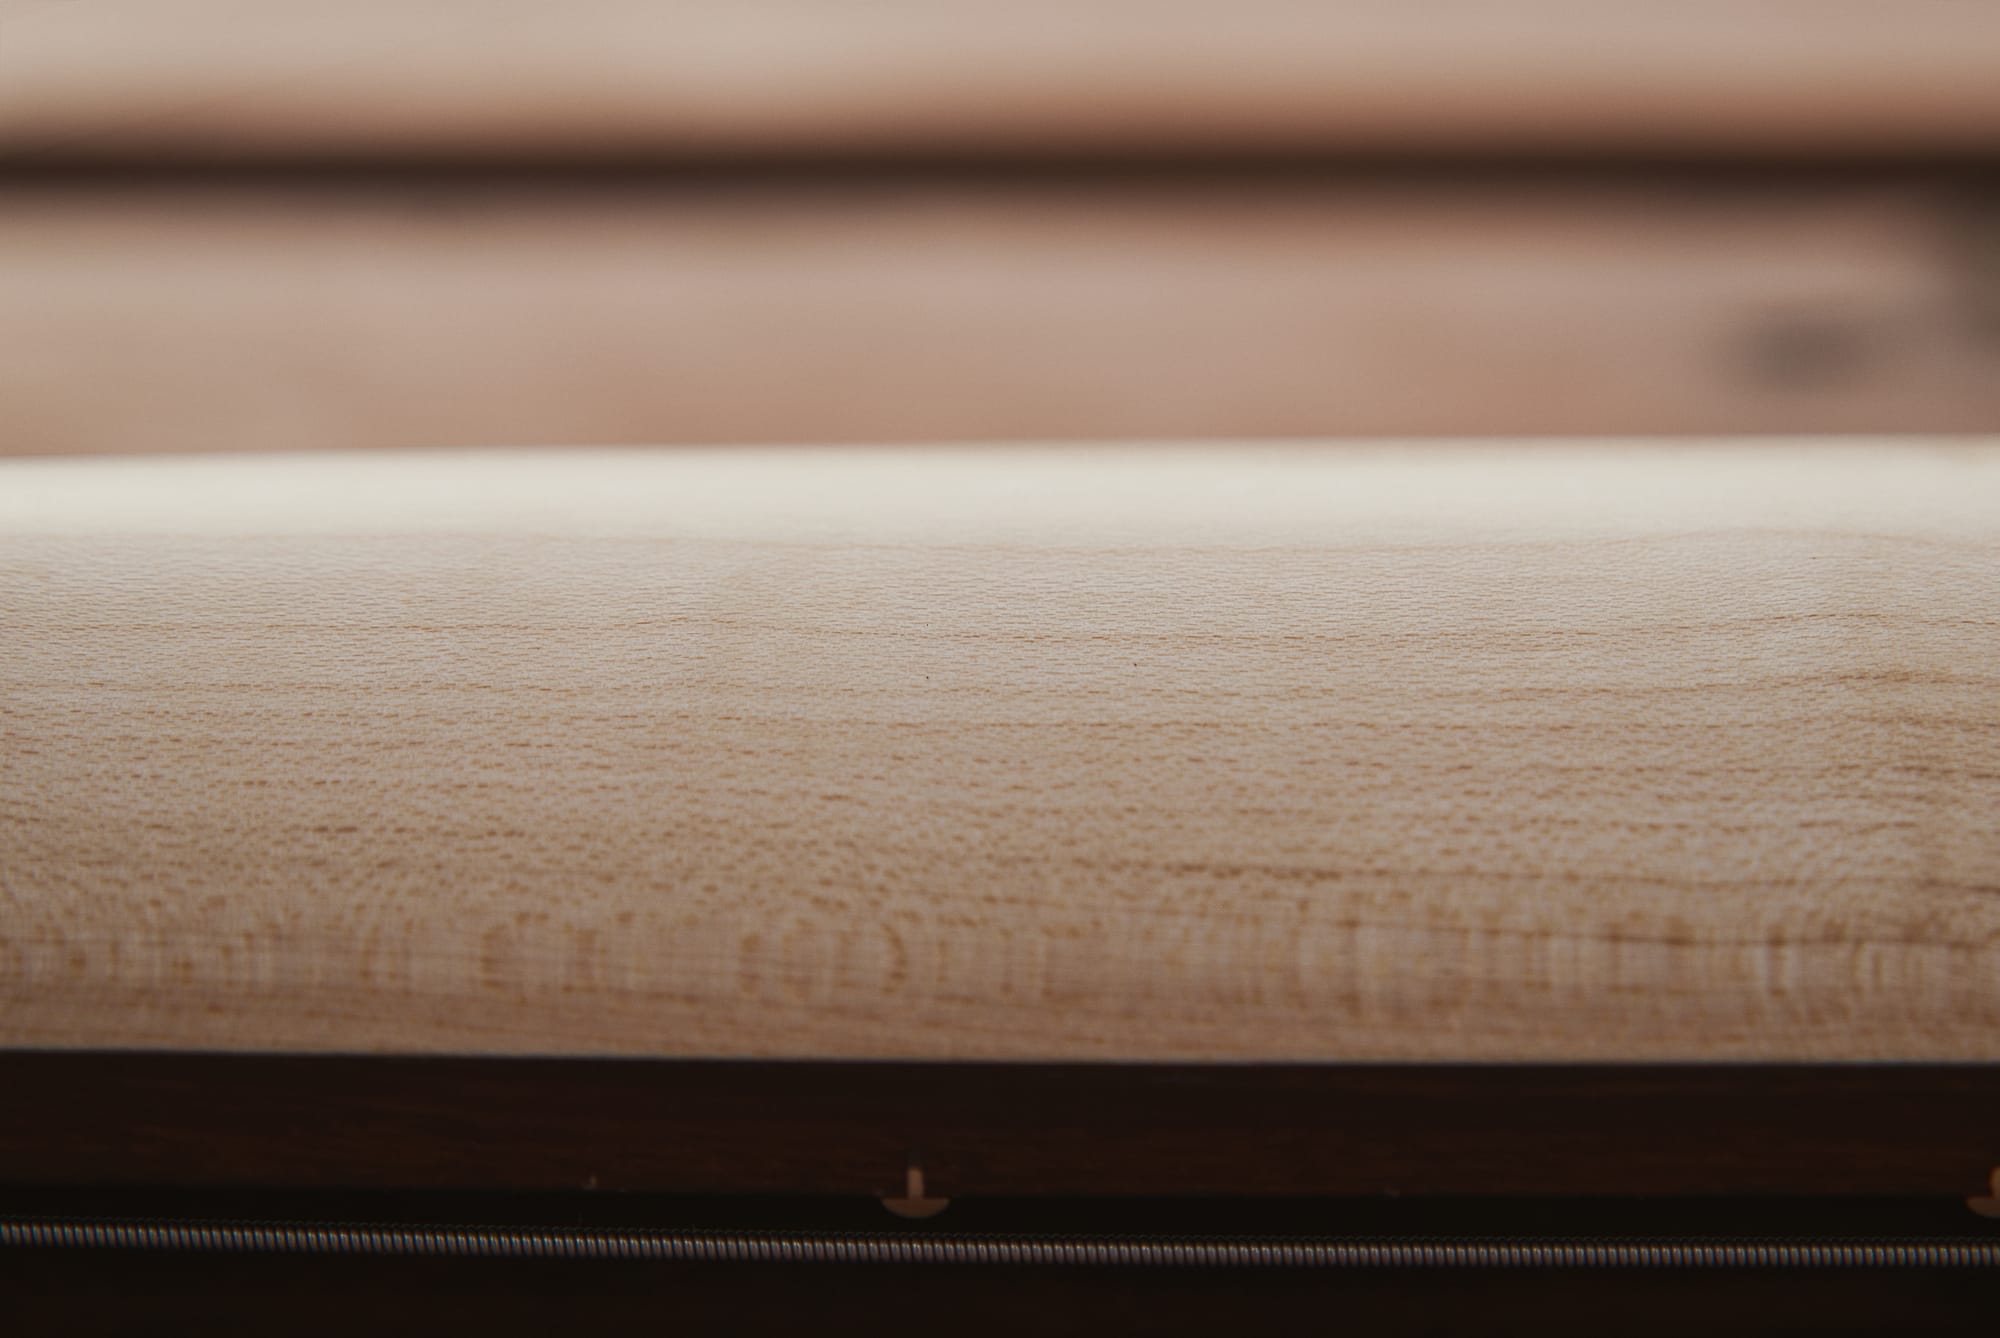
piecing the parts together
Over the course of two months, I went from having no knowledge of playing music or building instruments to not only playing a bass guitar but also constructing it myself. This was the first time I tackled such a complex project, where many unknown factors needed to align. My only prior experience was 3D printing large objects, and even that I had only done a couple of times.
I began with a research phase, gathering resources and finding places to ask questions ranging from how specific parts work, to learning basic bass technique and reading sheet music, to discovering which components would be best suited for my goals. During this process, I built up a broad foundation of knowledge that guided each step of the project.
One particularly helpful tool I found was MarzWorkbench for freecad, which made it easy to model a bass guitar body and prepare it for 3D printing. However, I ultimately chose to use this model from Thingiverse because it was well-documented and offered valuable insights from others who had attempted a similar build. This allowed me to concentrate on the more uncertain aspect of the project: printing large parts in carbon fiber nylon filament with the necessary strength and dimensional tolerance.
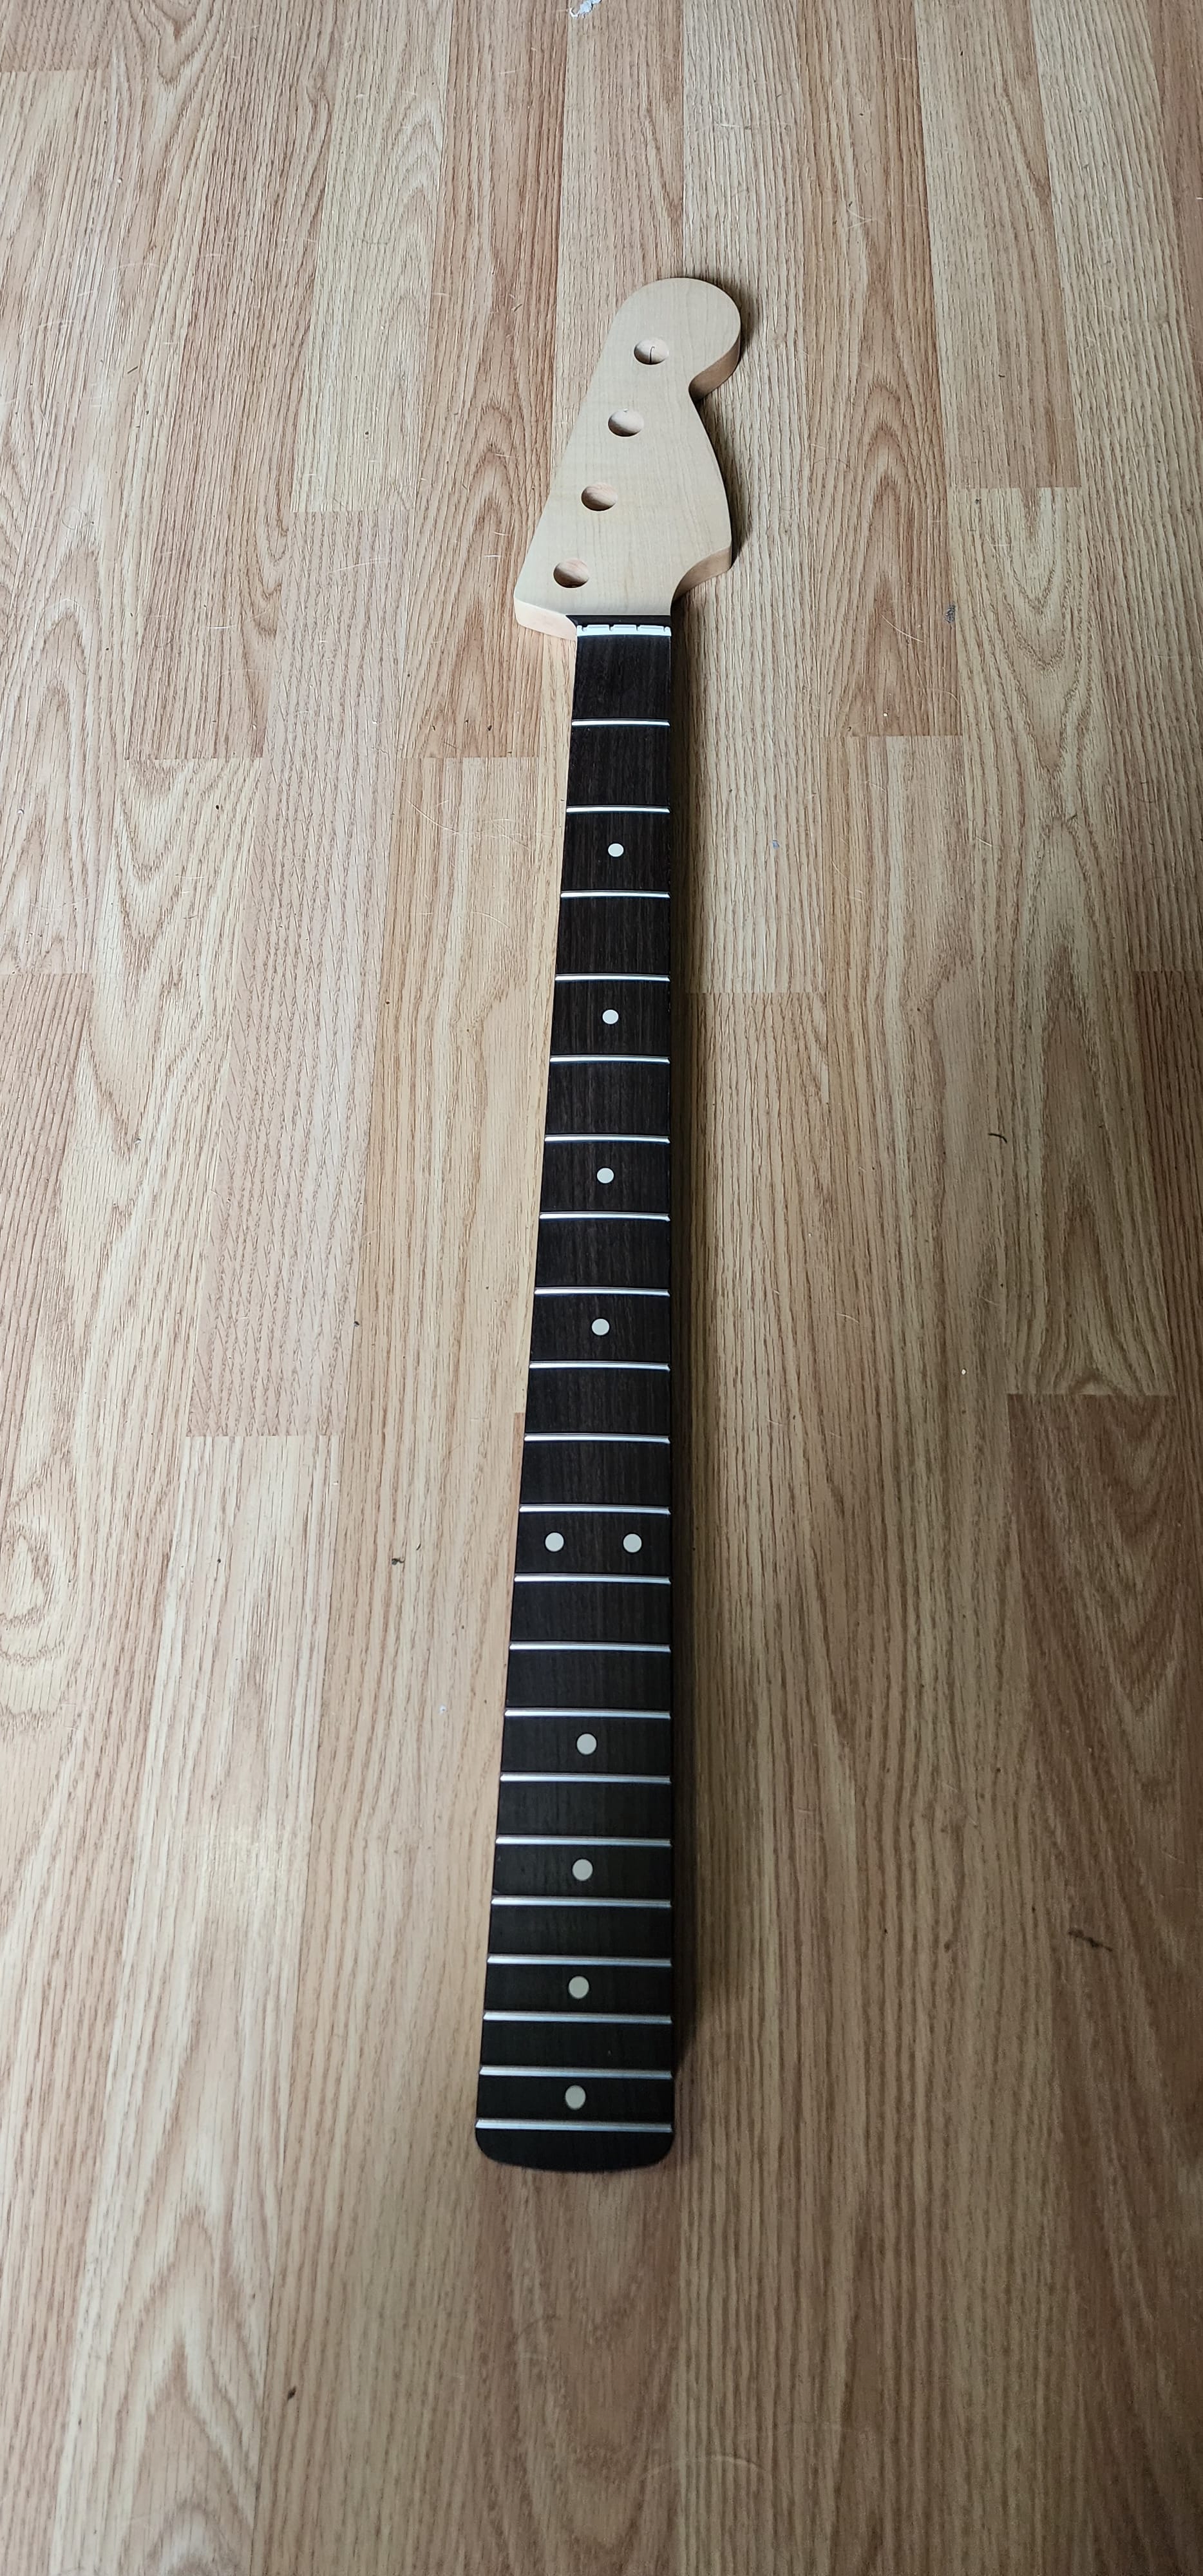
Most of the hardware for the bass, including the neck, came from warmoth, mainly because of their wide part selection and the option to customize the neck specs to my needs. I encountered some challenges when printing the bass body pieces due to the material properties of the carbon fiber nylon filament I had chosen. My custom-built 3D printer—a piecemeal setup with a 1 mm hardened steel nozzle and a Wham Bam flex plate—was barely up to the task. I ran the printer at maximum temperatures, slowed it down significantly, and used glue to prevent the parts from peeling off the build plate. In one instance, I had to orient a piece vertically instead of laying it flat, because the hexagonal shape made supports impractical.
After printing, I spent a full evening hand-sanding the flat sides of the six body sections, then used a handheld belt sander on the front and back to remove extra material and reduce warping. Although I wanted some extra mass to prevent neck dive, I underestimated how heavy a 70% infill piece would be. The resulting bass is still completely playable, albeit on the heavier side.
I also discovered that nylon bonding requires specialized adhesives, as nylon is self-lubricating and does not bond well with traditional glues. I ended up using this polymer bonding kit from Tech Bond, which worked perfectly for my needs. My final tests indicated the bonded parts could withstand around 100 pounds of shear force, and the layer lines held up to about 65 pounds—enough to handle the tension of bass strings. I further reinforced the structure by placing a thin piece of metal where the bass body meets the neck and secured everything with deck screws.
When it came time to string up the bass, I realized the bridge was sitting too low for the proper string height. The built-in adjustment couldn’t compensate, so I printed a spacer using the same bonding kit. Over the next month, I practiced enough to play a few of my favorite bass lines. Overall, I thoroughly enjoyed this project and learned a great deal along the way!